

How to mint NFT collection on Solana Blockchain
Step-By-Step Guide: a secure way to mint NFT on the Mainnet-beta


A lot of information and insights stated here are from Metaplex's and Solana's documentation. However, because the key information for beginners is scattered across different sections in their documentation, I have decided to combine my findings plus Metaplex/Solana Docs insights together in a more digestible format. A step by step tutorial with keywords and functionalities explained along the way. I hope this helps you to better understand how minting works on Solana Blockchain, and show you how to mint your NFT collection, while avoiding some security concerns on the mainnet-beta.
- ShvetsTech
INTRODUCTION
Metaplex's Sugar Candy Machine CLI makes it easier to launch candy machines and mint NFTs on Solana Blockchain, while still retaining its customizability. Moreover, if you are using secondary markets to launch your NFTs, it usually comes with royalty sharing and a steep sale commissions, but doing it directly from Metaplex that is an open source protocol where you can mint NFTs using a standardized format across all applications, can cut off the middlemen.
What will you learn?: How to deploy NFT collection on Solana Blockchain using Metaplex - Sugar: Candy Machine CLI.
Additional Information: Security concerns, costs and keywords explanations.
Solana Network Explained: There are three primary clusters (networks) on Solana:
Devnet - where we can test drive Solana without incurring a real cost.
Testnet - a cluster where Solana core developers stress test recent release features.
Mainnet-beta - this one is the real deal.
Thanks to these different clusters, we can test and improve our projects in a cost-effective manner.
In this tutorial we will use Mainnet-beta to learn what you will encounter when minting your NFT Collection and how to smoothly and securely upload your Candy Machine.
REQUIREMENTS
You will need to download the following ...
Visual Studio Code
What is it?
Also known as VS Code, is a source-code editor made by Microsoft, which helps visualize and organize your code/files. It is one of the best tooling for core edit-build-debug cycle. This will help us when we will edit NFT metadata and launch the candy machine for minting.
How to download
Solana CLI Tool
What is it?
It is a command-line interface known as the CLI, which helps us to directly interact with the Solana cluster.
How to download on MacOS & Linux
When on MacOS or Linux run the following script on your terminal to download Solana release v1.10.32:
sh -c "$(curl -sSfL https://release.solana.com/v1.10.32/install)"
After running the script, it might show you the following message Please update your PATH environment variable to include the solana programs: If you do get this message then copy and paste the recommended command and execute it in order to update PATH.
Finally confirm you have installed it by running the following command. This will show you the version you currently have.
solana --version
If you later need to update it, then you can run
solana-install update
How to download on Windows
Open a Command Prompt (cmd.exe) as an Administrator. Search for Command Prompt in the Windows search bar. When the Command Prompt app appears, right-click and select “Open as Administrator”. If you are prompted by a pop-up window asking “Do you want to allow this app to make changes to your device?”, click Yes.
Then copy/paste the following command and press enter to download Solana installer into a temporary directory:
curl https://release.solana.com/v1.10.32/solana-install-init-x86_64-pc-windows-msvc.exe --output C:\solana-install-tmp\solana-install-init.exe --create-dirs
Next, run the following command to install the latest version of Solana. If you see a security pop-up by your system, please select to allow the program to run.
C:\solana-install-tmp\solana-install-init.exe v1.10.32
When the installer is finished, press Enter. Finally confirm you have installed it by running the following command. This will show you the version you currently have.
solana --version
If you later need to update it, then you can run
solana-install update
Sugar: Candy Machine CLI
What is it?
It's a fully on-chain generative NFT distribution program created by Metaplex Foundation. Sugar was created to replace the Java Script CLI, making it easier to upload your media and metadata files as well as deploy the candy machine that you would mint your NFT collection from. Overall, it simplified build and installation procedures from its predecessor.
How to download ...
if you are on MacOS, Linux, WSL then run the following install script in your terminal
bash <(curl -sSf https://sugar.metaplex.com/install.sh)
if you are on Windows then download the Winstaller executable from here.
SOLANA WALLET
Understanding Solana Wallet System
Before we will generate a wallet using Solana CLI tools, here are some key terms that you should understand.
A crypto wallet is a device or application that stores a collection of keys and can be used to send, receive, and track ownership of cryptocurrencies.
A keypair is a securely generated private key and its cryptographically-derived public key. A private key and its corresponding public key are together known as a keypair. A wallet contains a collection of one or more keypairs and provides some means to interact with them. (Solana Documentation)
public key - public address that anyone can see and know where to send cryptocurrency to.
private key - a string of numbers that gives access to your wallet, a password to a specific account that is identified by a public key.
Solana provides a key generation tool to derive keys from BIP39-compliant seed phrases.
seed phrase - a password to aggregate of wallets, a wallet generator.
Types of Wallets
Solana supports three types of wallets that you can interface directly through the Solana CLI tools. Here are the three Command Line Wallets.
File System Wallet
A file system wallet, aka an FS wallet, is a directory in your computer's file system. Each file in the directory holds a keypair. A file system wallet is the most convenient and least secure form of wallet. It is convenient because the keypair is stored in a simple file. You can generate as many keys as you would like and trivially back them up by copying the files. It is insecure because the keypair files are unencrypted. If you are the only user of your computer and you are confident it is free of malware, an FS wallet is a fine solution for small amounts of cryptocurrency. If, however, your computer contains malware and is connected to the Internet, that malware may upload your keys and use them to take your tokens. Likewise, because the keypairs are stored on your computer as files, a skilled hacker with physical access to your computer may be able to access it. Using an encrypted hard drive, such as FileVault on MacOS, minimizes that risk. (Solana Documentation)
The following is a command to generate a file system wallet
solana-keygen new --outfile ~/.config/solana/mainnet-beta.json
Paper Wallet
A paper wallet is a collection of seed phrases written on paper. A seed phrase is some number of words (typically 12 or 24) that can be used to regenerate a keypair on demand. In terms of convenience versus security, a paper wallet sits at the opposite side of the spectrum from an FS wallet. It is terribly inconvenient to use, but offers excellent security. (Solana Documentation)
The following is a command to generate a paper wallet
solana-keygen new --no-outfile
Hardware Wallet
A hardware wallet is a small handheld device that stores keypairs and provides some interface for signing transactions. A hardware wallet, such as the Ledger hardware wallet, offers a great blend of security and convenience for cryptocurrencies. It effectively automates the process of offline signing while retaining nearly all the convenience of a file system wallet. (Solana Documentation)
Command Line
solana-keygen new - a command to generate new keypair
USAGE:
    solana-keygen.exe new [FLAGS] [OPTIONS]

FLAGS:
    -f, --force                  Overwrite the output file if it exists
    -h, --help                   Prints help information
        --no-outfile             Only print a seed phrase and pubkey. Do not output a keypair file
        --no-bip39-passphrase    Do not prompt for a BIP39 passphrase
    -s, --silent                 Do not display seed phrase. Useful when piping output
to other programs that prompt for
                                 user input, like gpg

OPTIONS:
    -C, --config <FILEPATH>
        --language <LANGUAGE>    Specify the mnemonic language that will be present in
the generated seed phrase
                                 [default: english]  [possible values: english, chinese-simplified, chinese-traditional,
                                 japanese, spanish, korean, french, italian]
    -o, --outfile <FILEPATH>     Path to generated file
        --word-count <NUMBER>    Specify the number of words that will be present in the generated seed phrase [default:
                                 12]  [possible values: 12, 15, 18, 21, 24]
Wallet Set-up Procedure
Wallet Creation
In order to interact with other applications like creating a candy machine to mint NFTs, you need to specify your private key in a file, therefore, we will have to generate File System Wallet either way. But you can improve security by generating the wallet on an encrypted hard drive or flash drive.
I would suggest using an encrypted flash drive (USB), since it's more portable and affordable. Plus, you do not need that much storage capacity in the first place, if it's just one project. As long as it's encrypted and unplugged from the internet connected devices as much as possible, it will reduce the security risks.
Step 1. Create a file on an encrypted hard drive or flash drive.
Step 2. Open Visual Studio Code, and open the file you have created.
Step 3. Open the terminal and execute the following command
solana-keygen new --outfile mintwallet/solana/mainnet-beta.json --word-count 24
The output will be the following:
Generating a new keypair

For added security, enter a BIP39 passphrase

NOTE! This passphrase improves security of the recovery seed phrase NOT the
keypair file itself, which is stored as insecure plain text

BIP39 Passphrase (empty for none):
Step 4. Write a passphrase and press [Enter]. Next it will tell you to Enter same passphrase again: , so enter it again and press [Enter].
Finally you will get the following output:
Wrote new keypair to mintwallet/solana/mainnet-beta.json
==========================================================================
pubkey: 3k6fXsPVdoiV2Axt9X4ZEJwiJeo9qLoTD9eTnW2CY8M4
==========================================================================
Save this seed phrase and your BIP39 passphrase to recover your new keypair:
tourist hill label desk proud bright capital donor mechanic lecture garment board robust emotion orange flight gallery frame unusual opera stage dinosaur joke toddler
==========================================================================
Adding
--word-count 24to your command, it creates a longer seed phrase. In addition, entering the optional BIP39 Passphrase further improves your encryption.
Step 5. Make sure to save the seed phrase / BIP39 passphrase by creating a note on the same file you have created on an encrypted drive or write it down on piece of paper and leave it somewhere safe.
Configuring Wallet to the Mainnet
Finally, in order to be able to interface with your wallet directly through the Solana CLI tools, you need execute the following commands.
solana config set - to set the configuration in order to be able to interact with specified wallet or network
--keypair <file path to your private key>
--url <URL of Solana Cluster RPC Endpoint, URL for Solana's JSON RPC, >
Step 1. Enter the following command to configure your wallet.
solana config set --keypair mintwallet/solana/mainnet-beta.json
Step 2. Configure your network on which you will be operating on. In the --url section you will specify Solana's Cluster RPC Endpoint. In this case we will be using mainnet-beta, so execute the following command
solana config set --url https://api.mainnet-beta.solana.com
Step 4. Check your configurations by executing the following command
solana config get
Output:
Config File: C:\Users\admin\.config\solana\cli\config.yml
RPC URL: https://api.mainnet-beta.solana.com
WebSocket URL: wss://api.mainnet-beta.solana.com/ (computed)
Keypair Path: C:\Users\admin\Desktop\mintwallet\solana\mainnet-beta.json
Commitment: confirmed
You have now configured your wallet to be able to interact on the mainnet-beta via Solana CLI Tools.
Step 5. Try to enter the following command to check which wallet you are logged in with.
solana address
Output will be 3k6fXsPVdoiV2Axt9X4ZEJwiJeo9qLoTD9eTnW2CY8M4 which is the public key that we just created, which we will use when setting up candy machine and mints.
Step 6. Now enter the following command to check how much Solana (SOL) you have in your wallet.
solana balance
Your output will be 0 SOL, but the wallet needs to contain some SOL to execute transactions that will set a candy machine and mint your NFTs on Solana Blockchain. Therefore, you will need to get SOL into your wallet.
GETTING SOL
In order to get SOL into your wallet, the easiest way would be to buy on centralized crypto exchanges such as Binance.
I would recommend Binance.
(I will cover about centralized crypto exchanges in upcoming articles)
Finally, once you get SOL, send it to the public key that was specified when you were creating the keypair (wallet).
Feel free to send some to me as well shvetstech.sol :)
COSTS
Assuming that you are planning to mint all NFTs yourself then there are four costs you need to consider.
- The cost of storing your files (nft image and metadata).
- The cost of rent to store the Candy Machine configuration on Solana blockchain.
- Custom RPC if creating a large NFT collection (upload).
- Minting fee each time you mint an NFT from your configured Candy Machine.
(1) NFT Storage Explained
Solana is designed to be a high-throughput low-latency blockchain that can host smart contracts, but one of the design tradeoffs is that storing data on Solana is fairly expensive. For NFTs, Metaplex - Sugar: Candy Machine only store basic information about the NFT, such as the name, symbol, creators, and seller fee basis points. For the image and all the other metadata, Metaplex has a URL on-chain on Solana that points to an external JSON file contain all that information. This URL can point to any JSON file anywhere. It can be a decentralized file storage blockchain like Arweave or Filecoin, a peer-to-peer distributed file system like IPFS, or even a centralized cloud server like AWS. Sugar currently supports four upload methods: Arweave via Bundlr, IPFS via NFT Storage, Shadow Drive and AWS.
"NFTs are meant to live forever, being bought, sold, held and enjoyed for the rest of time. As such, the storage on which your assets are written should be permanent." - Metaplex
If taking this into account then Arweave is the most recommended choice for choosing where to store your NFTs image and metadata on.
Arweave is a decentralized, trust-minimized, censorship-resistant data storage network designed to retain data permanently, making it a great fit for NFTs. To cover the cost of storing your media forever, storage and mining fees are paid at the time of upload and distributed to storage providers participating in the network. Storage fees are based on the total size of the files you upload to the network during NFT creation. Each NFT consists of three files:
- The asset itself (image, video, audio, etc)
- The accompanying metadata file (attributes etc.)
- A generated manifest which creates a logical grouping or relationship between your files
The cumulative size of these files (in bytes) is submitted to the Arweave storage cost estimation service which returns the real time estimated fee for storage, priced in winstons. Metaplex then converts the winstons to SOL for payment. Metaplex Docs
Here is an Arweave Fee Calculator click here
(2) Candy Machine Storage
To create a Candy Machine, space is allocated on chain to temporarily store the names and URI links (mirroring what is in your .json file in the .cache directory). To store this data on chain, you are required to pay on chain rent costs. After a Candy Machine is fully minted, this data is useless and there is no need to continue to pay rent, so you can run the withdraw command to reclaim all the rent costs. Check the withdraw section for more details. For a 10k collection, the rent costs are approximately 16.7 SOL. This scales linearly with the number of items in your collection. Thus, you can get an approximate on chain rent cost estimate by multiplying the number of items in your collection by 0.00167 SOL. (Metaplex Docs)
Either way, an upfront cost will be needed to be able to use a candy machine to mint your NFTs. For the reference here is Candy Machine Fee Calculator click here.
(3) Custom RPC
The upload of your NFTs is a network-intensive command, especially with larger collections. You will get an error if you use public RPC like the one we set up to configure wallet. In order to make sure that transactions and dapps operate smoothly on Solana Blockchain's mainnet, you will need a custom RPC, which can be specified by the following command.
solana config set --url <rpc url>
The custom RPC that I use is from QuickNode for $49/month. When uploading NFTs in hundreds and thousands, you do need an RPC with higher rate limits. The ones that are for free does not do the job, they are pretty much like the public one that Solana provides.
Once you get your custom rpc url link just replace it with
solana config set --url https://elonmah...
On Solana, RPC servers are a very important piece of infrastructure. They allow you to communicate with the blockchain. When you send transactions, you first send them to the RPC servers and from there they are forwarded to the validators. (Metaplex Docs)
(4) MINTING COST
Metaplex keeps the average cost of minting at less than $1. And with no platform fees, Metaplex is shifting the balance of power back to artists and creators. (metaplex on twitter)
When I was minting it was 0.00848 SOL (minting + network fee) per NFT.
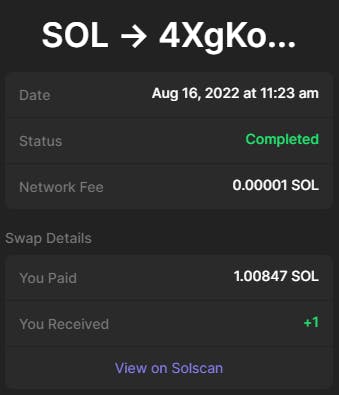
- 0.00001 SOL netowrk fee / 0.00847 SOL mint fee / 1 SOL set mint price
SETTING-UP NFT METADATA
For each of your NFTs to show attributes and description for the front-end purposes, we will need to make a metadata in json format.
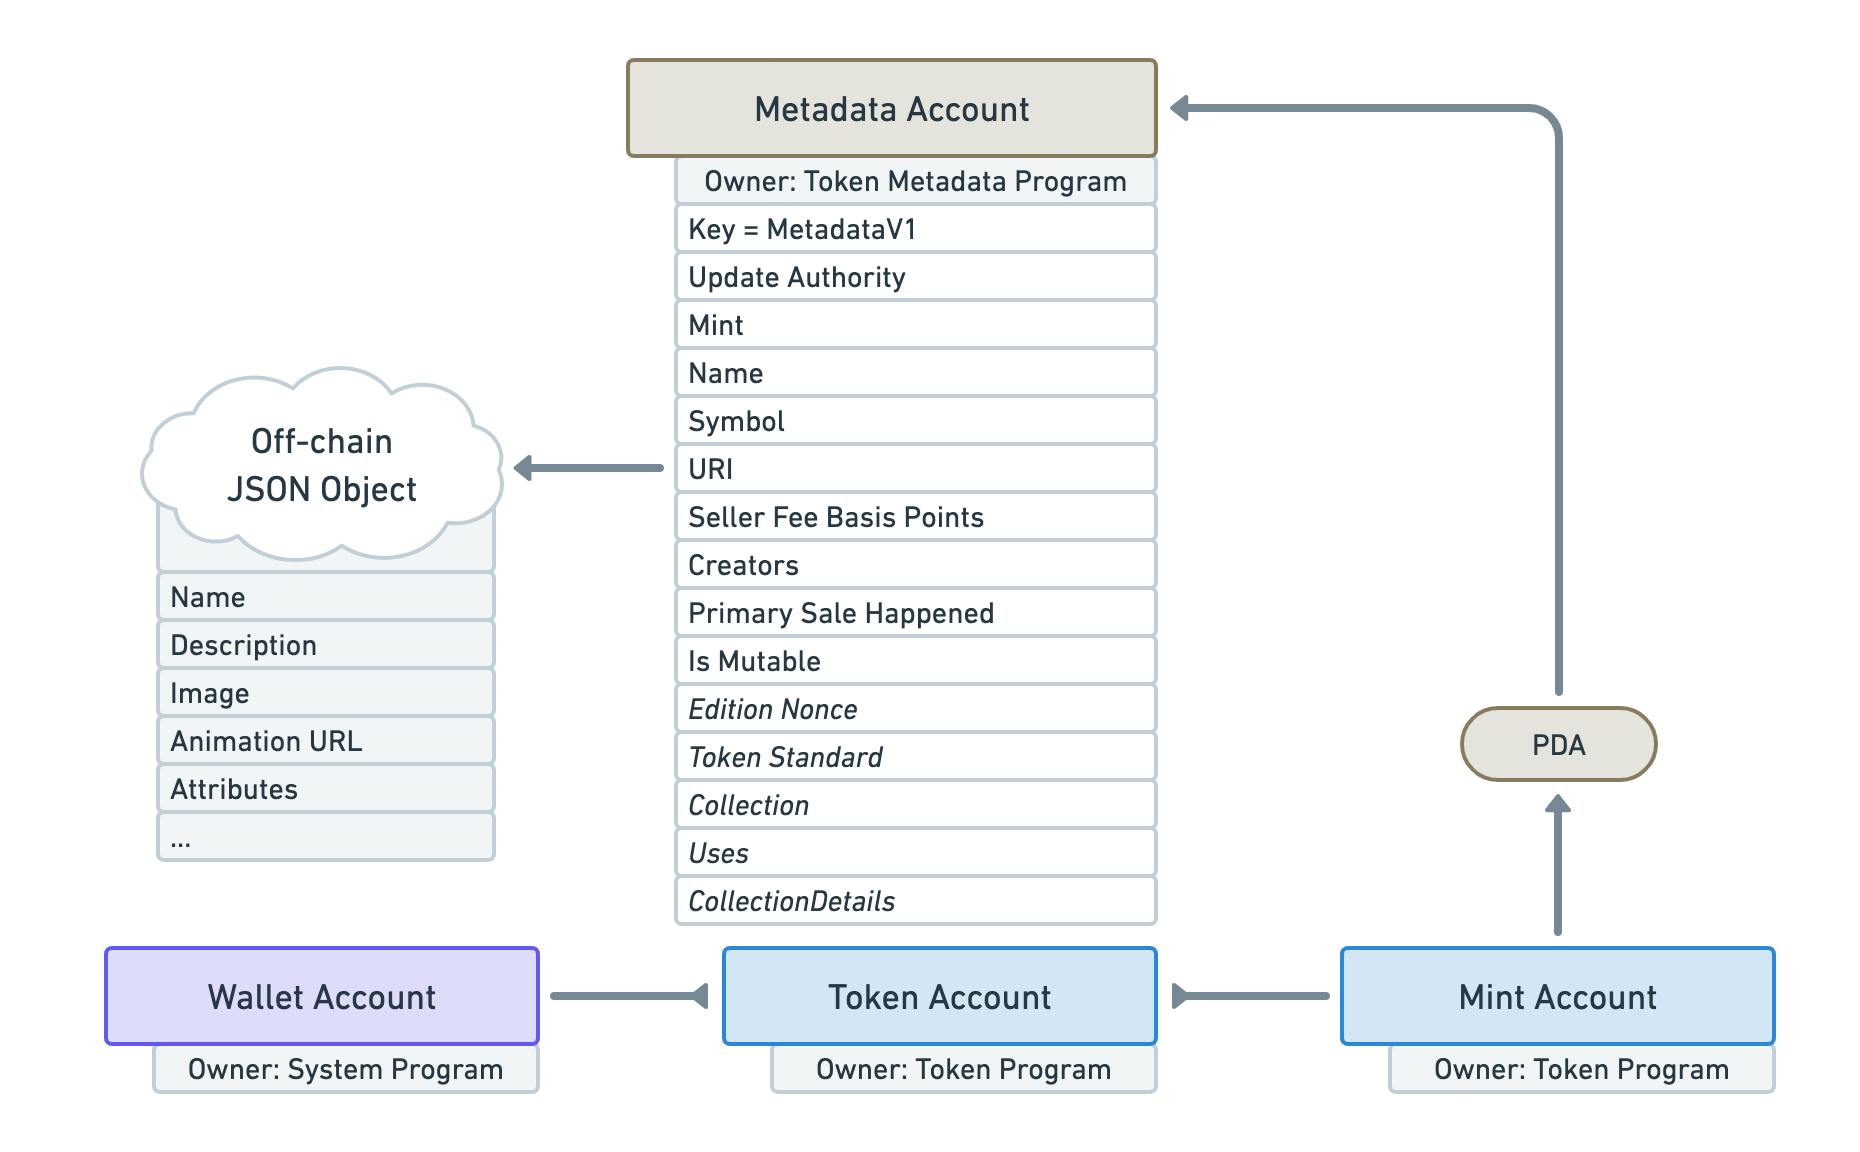 Click the photo to learn more about the Token Metadata Program's mechanics.
First of all, set up a file and name it
assets.Transfer all your images into that folder.
Make sure each image name is titled 0.png, 1png and etc.
Create a corresponding
.jsonmetadata.Add
collection.pngandcollection.jsonto yourassetfolder.
Each pair of image and metadata are combined to represent an NFT. E.g. 0.png and 0.json represent the first NFT in this example collection, 1.png and 1.json describe the second NFT and so forth. These files are grouped into a single folder named
assets.The first item in your collection must have the index 0, the second 1 and so forth. In a 1000 NFT drop, it will start with the pair 0.png and 0.json, and end with the pair 999.png and 999.json. The numbering must also be consecutive - i.e., should not have gaps in the numbering.
It is important to double-check that you do not skip any indices, e.g., 0.png, 2.png, 3.png (missing 1.png). Otherwise you will experience problems when minting your collection.
The
collection.pngandcollection.jsonare there to automatically configure your NFTs under one collection on chain. Before (Deprecated CM2/1) you would have to specify collections name on each image's metadata, but now adding this collection.json/png simplifies the metadata input.When minting, the collection set (png/json), it won't be minted by others who would try to mint on the candy machine, but it will be generated to your wallet that you configured your candy machine from. It also won't be within your collection either, so you can burn it if you want.
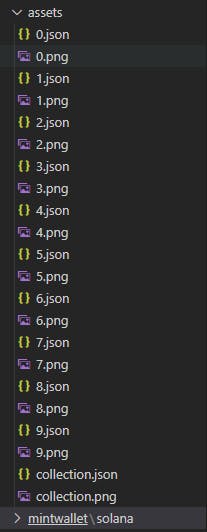
Above image shows how it would look like on Visual Studio Code for 10 nfts
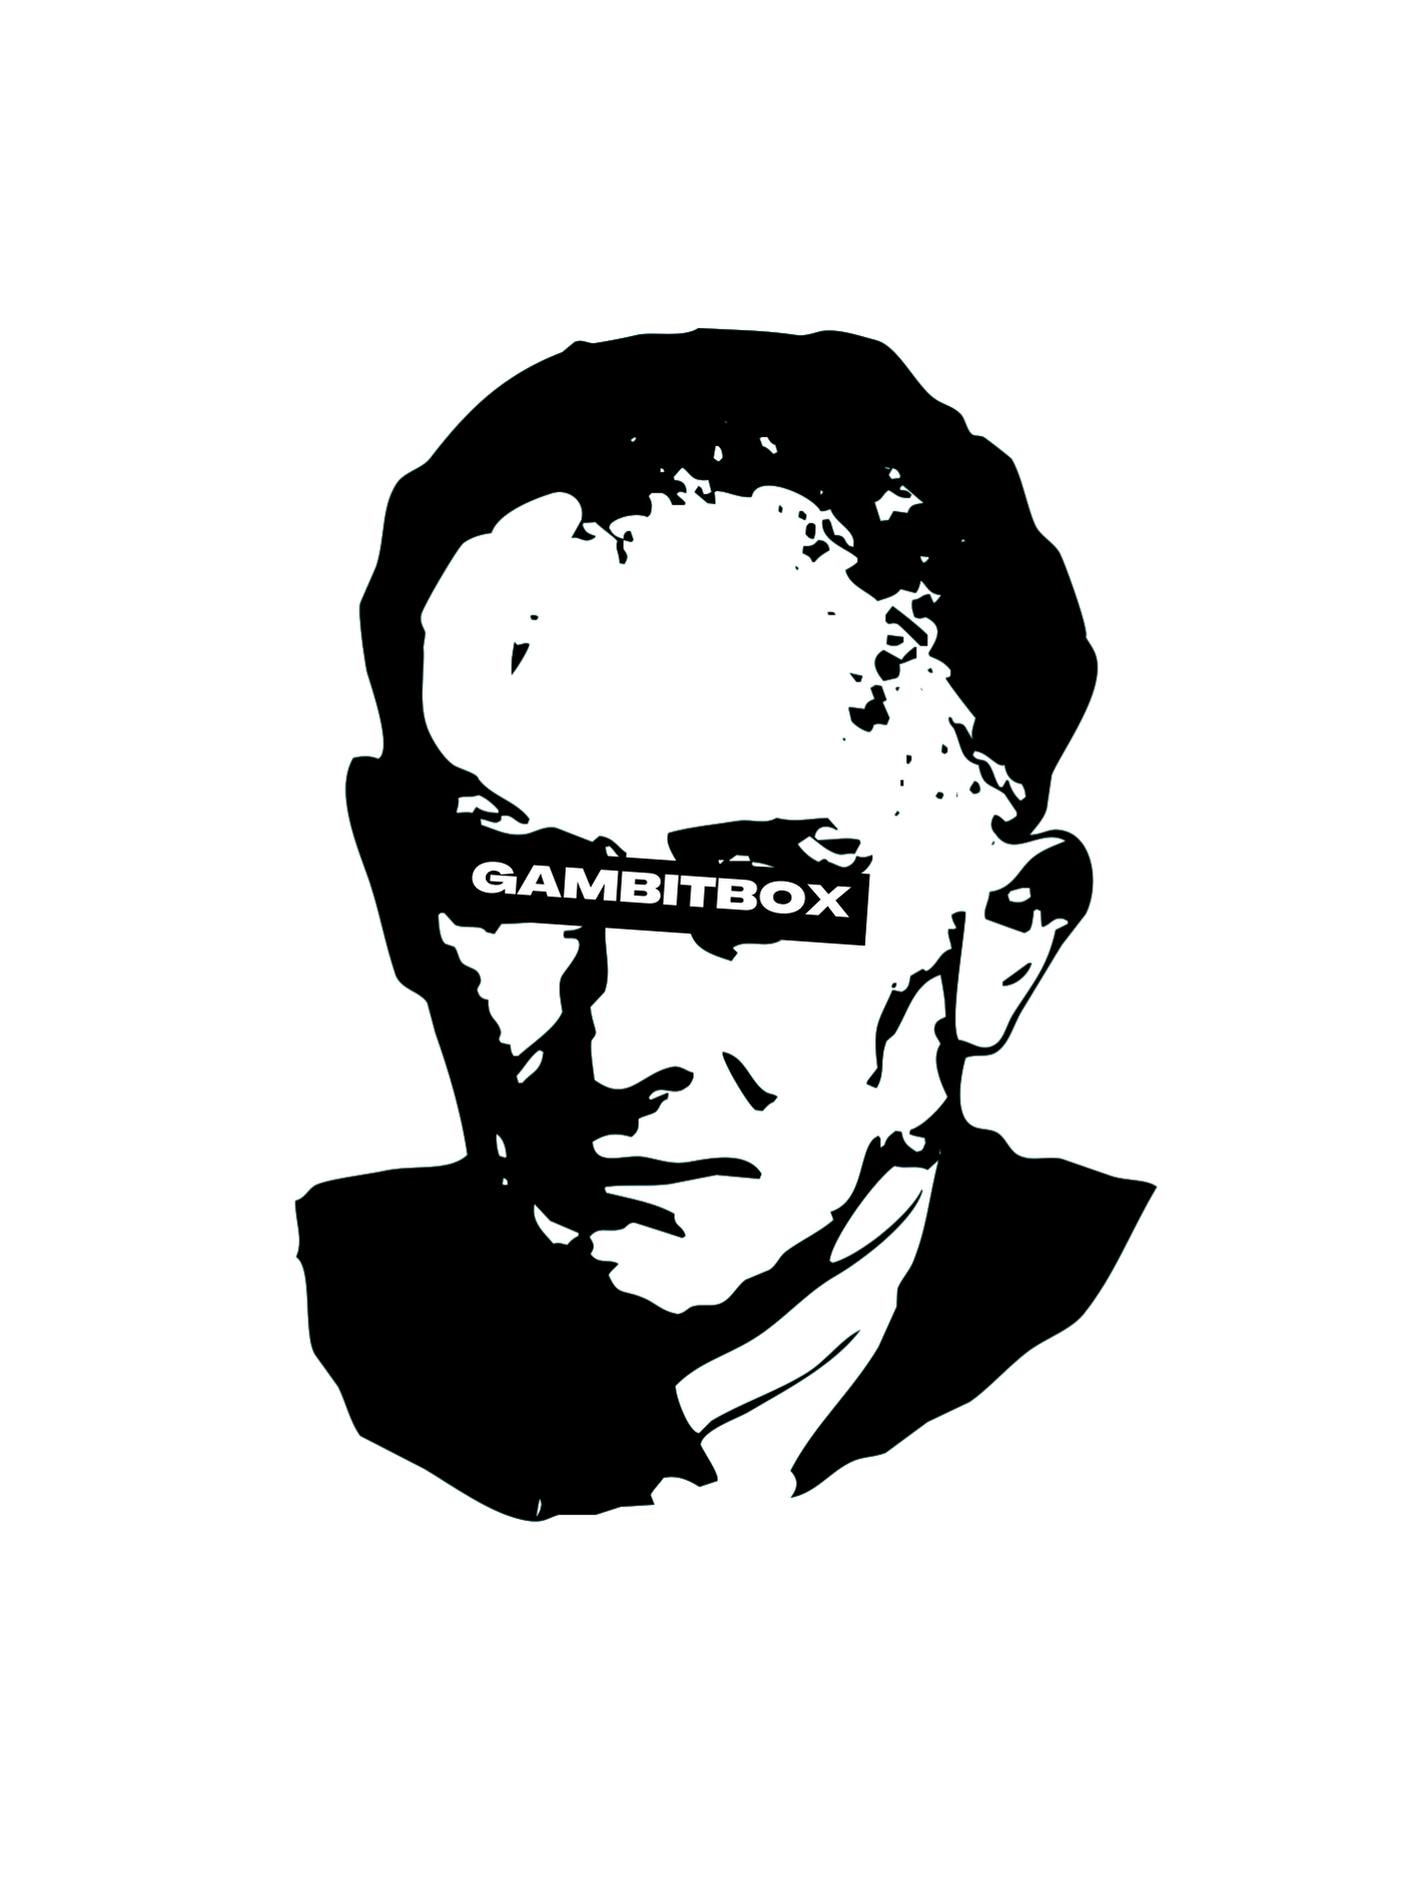
Here is how it would be set up for The Quantum Mind Collection by Gambitbox.
Image: 0.png
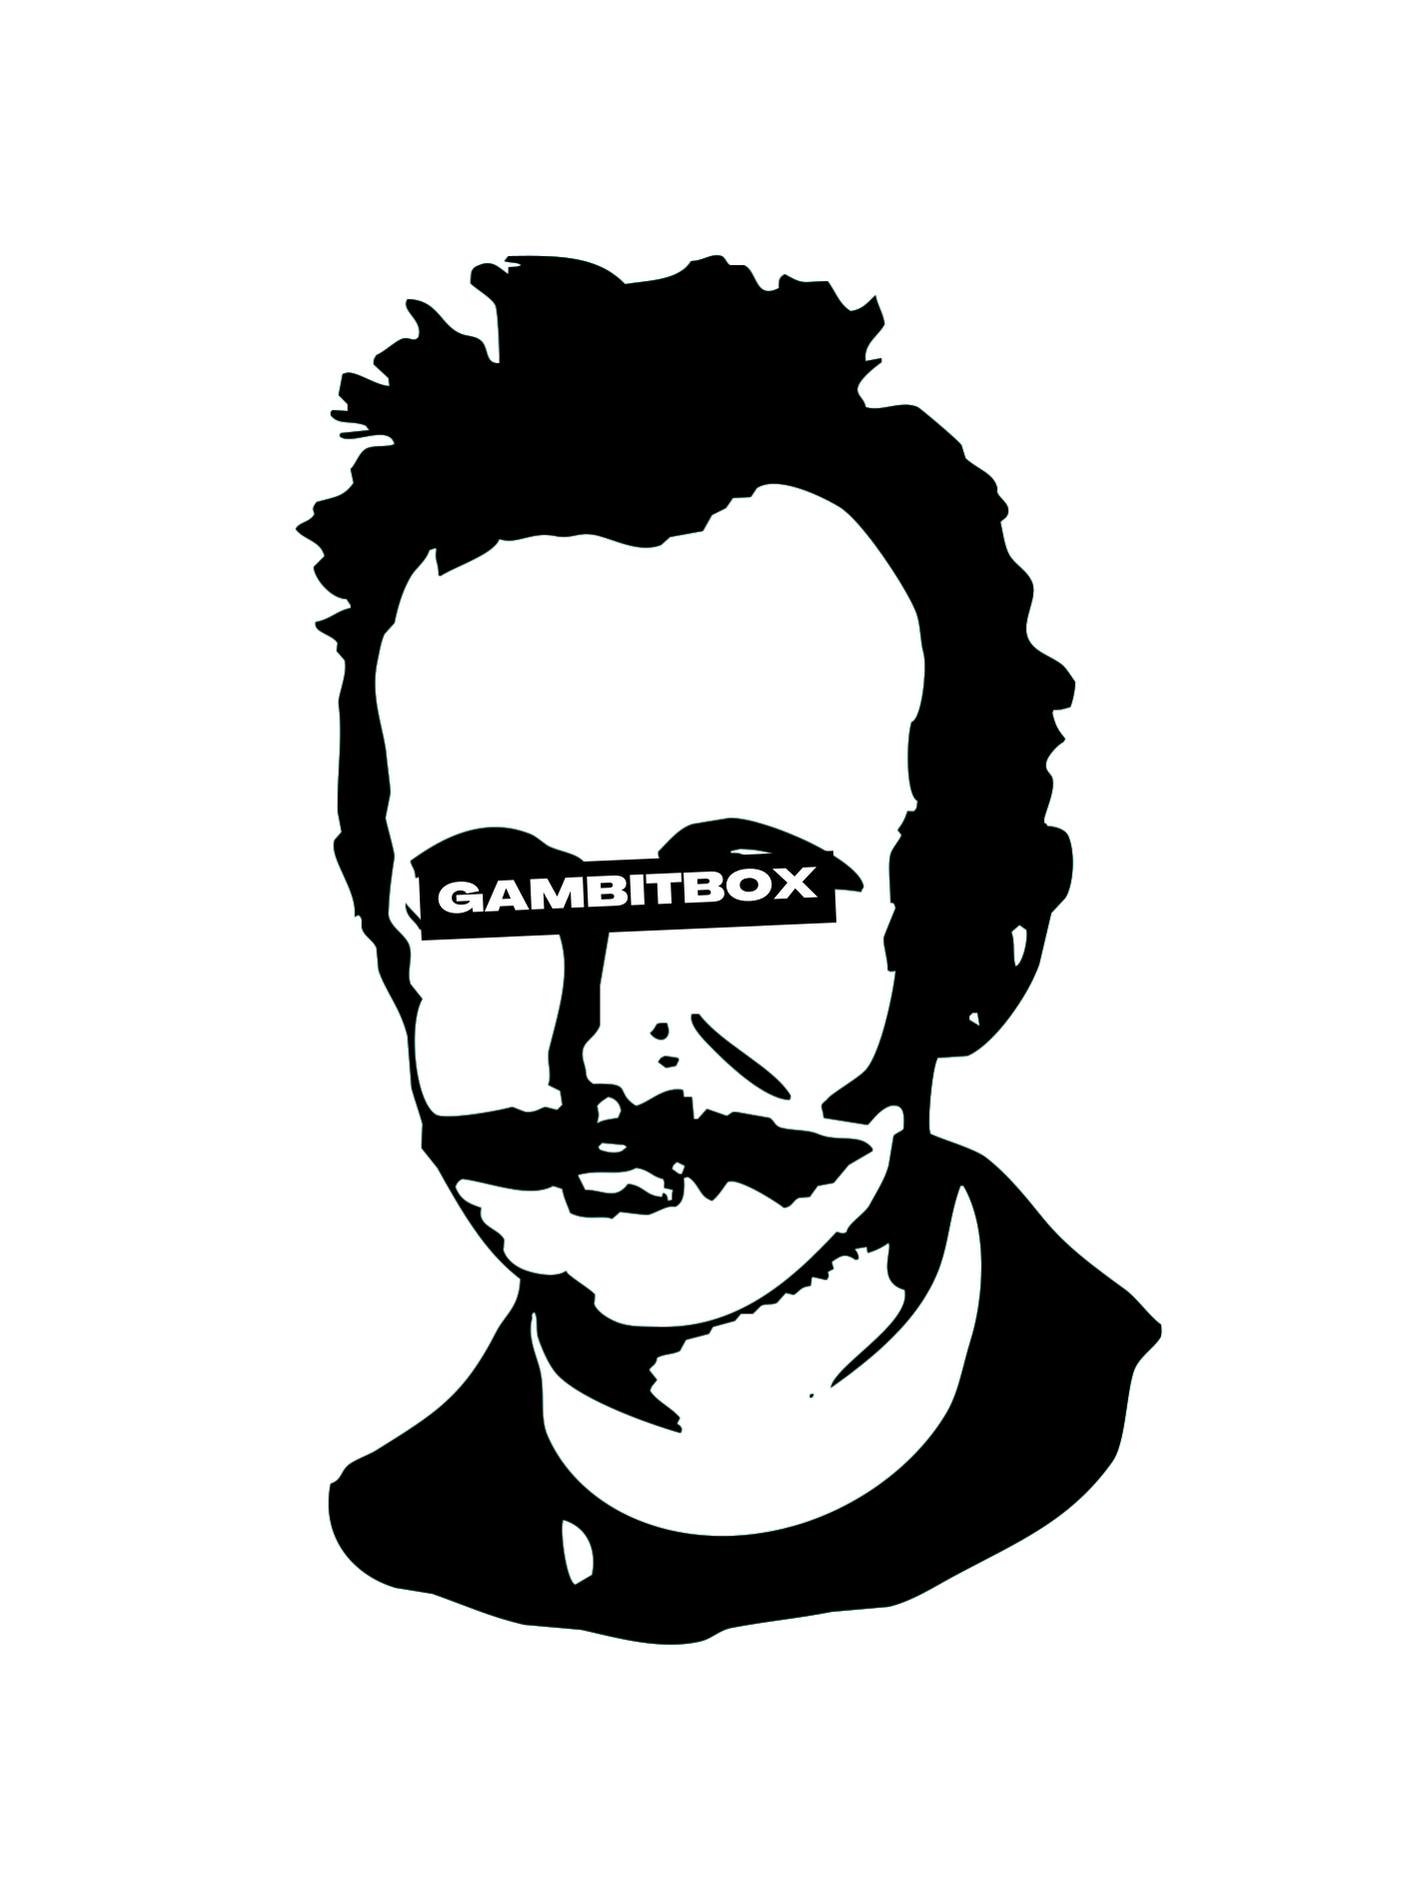
Metadata: 0.json
{
    "name": "MKELP #1",
    "symbol": "",
    "description": "The originator of quantum theory, who revolutionized our understanding of atomic and subatomic processes. He discovered the quantum of action, which he called h, in 1900. This work laid the foundation for quantum theory that won him the 1918 Nobel Prize for Physics.",
    "image": "0.png",
    "attributes": [
      {
        "trait_type": "figure",
        "value": "mkelp"
      },
      {
        "trait_type": "background",
        "value": "white"
     },
     {
        "trait_type": "paint",
        "value": "black"
      },
      {
        "trait_type": "rectangle cover",
        "value": "black"
       },
       {
        "trait_type": "gambitbox text",
        "value": "white"
        }
    ],
    "properties": {
      "files": [
        {
          "uri": "0.png",
          "type": "image/png"
        }
      ]
    }
  }
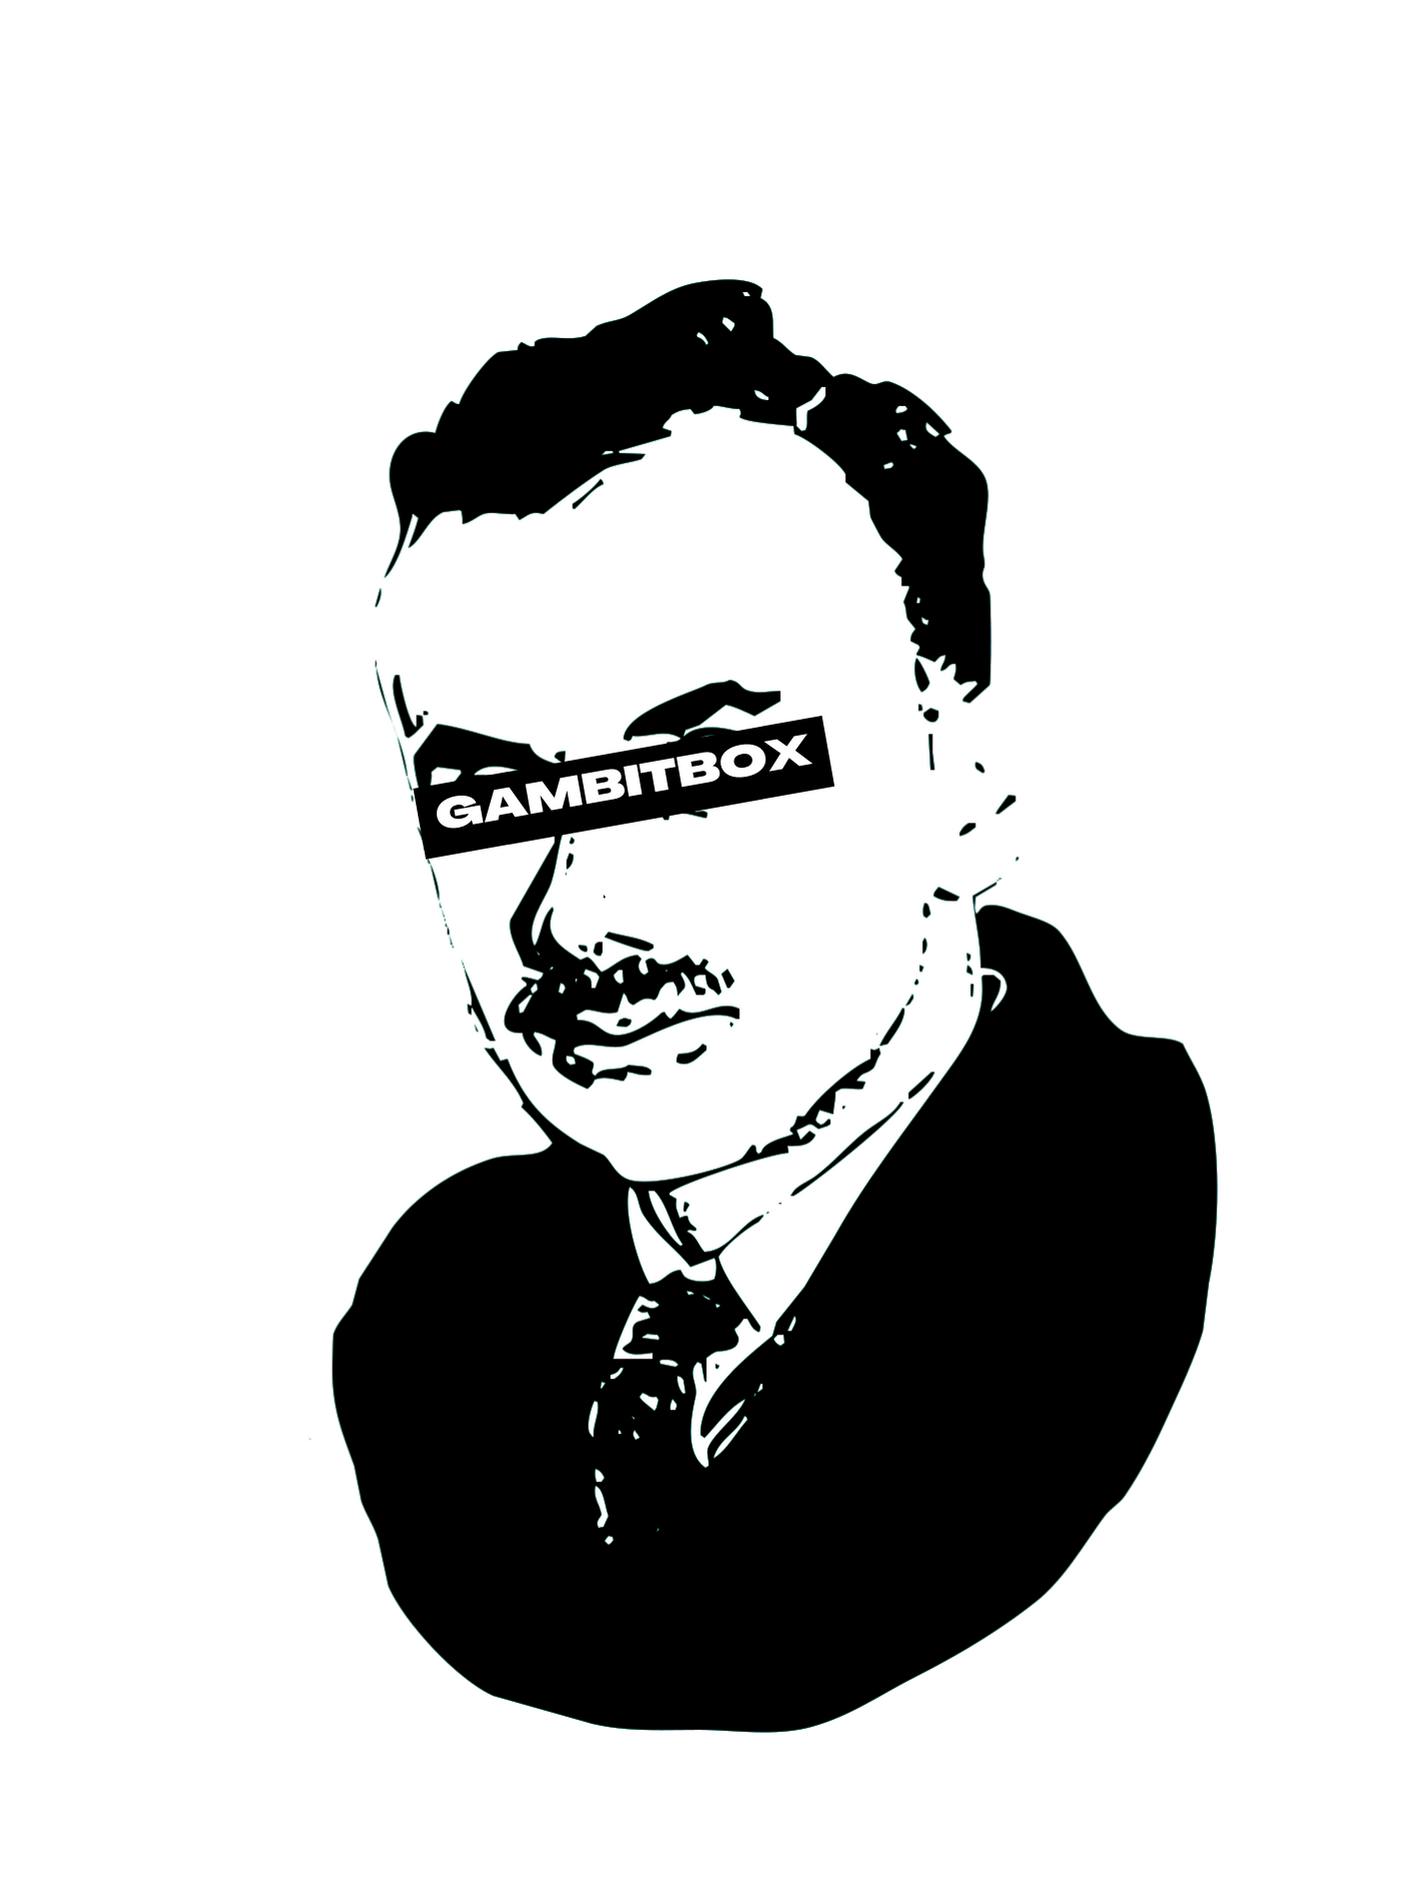
Image: 1.png
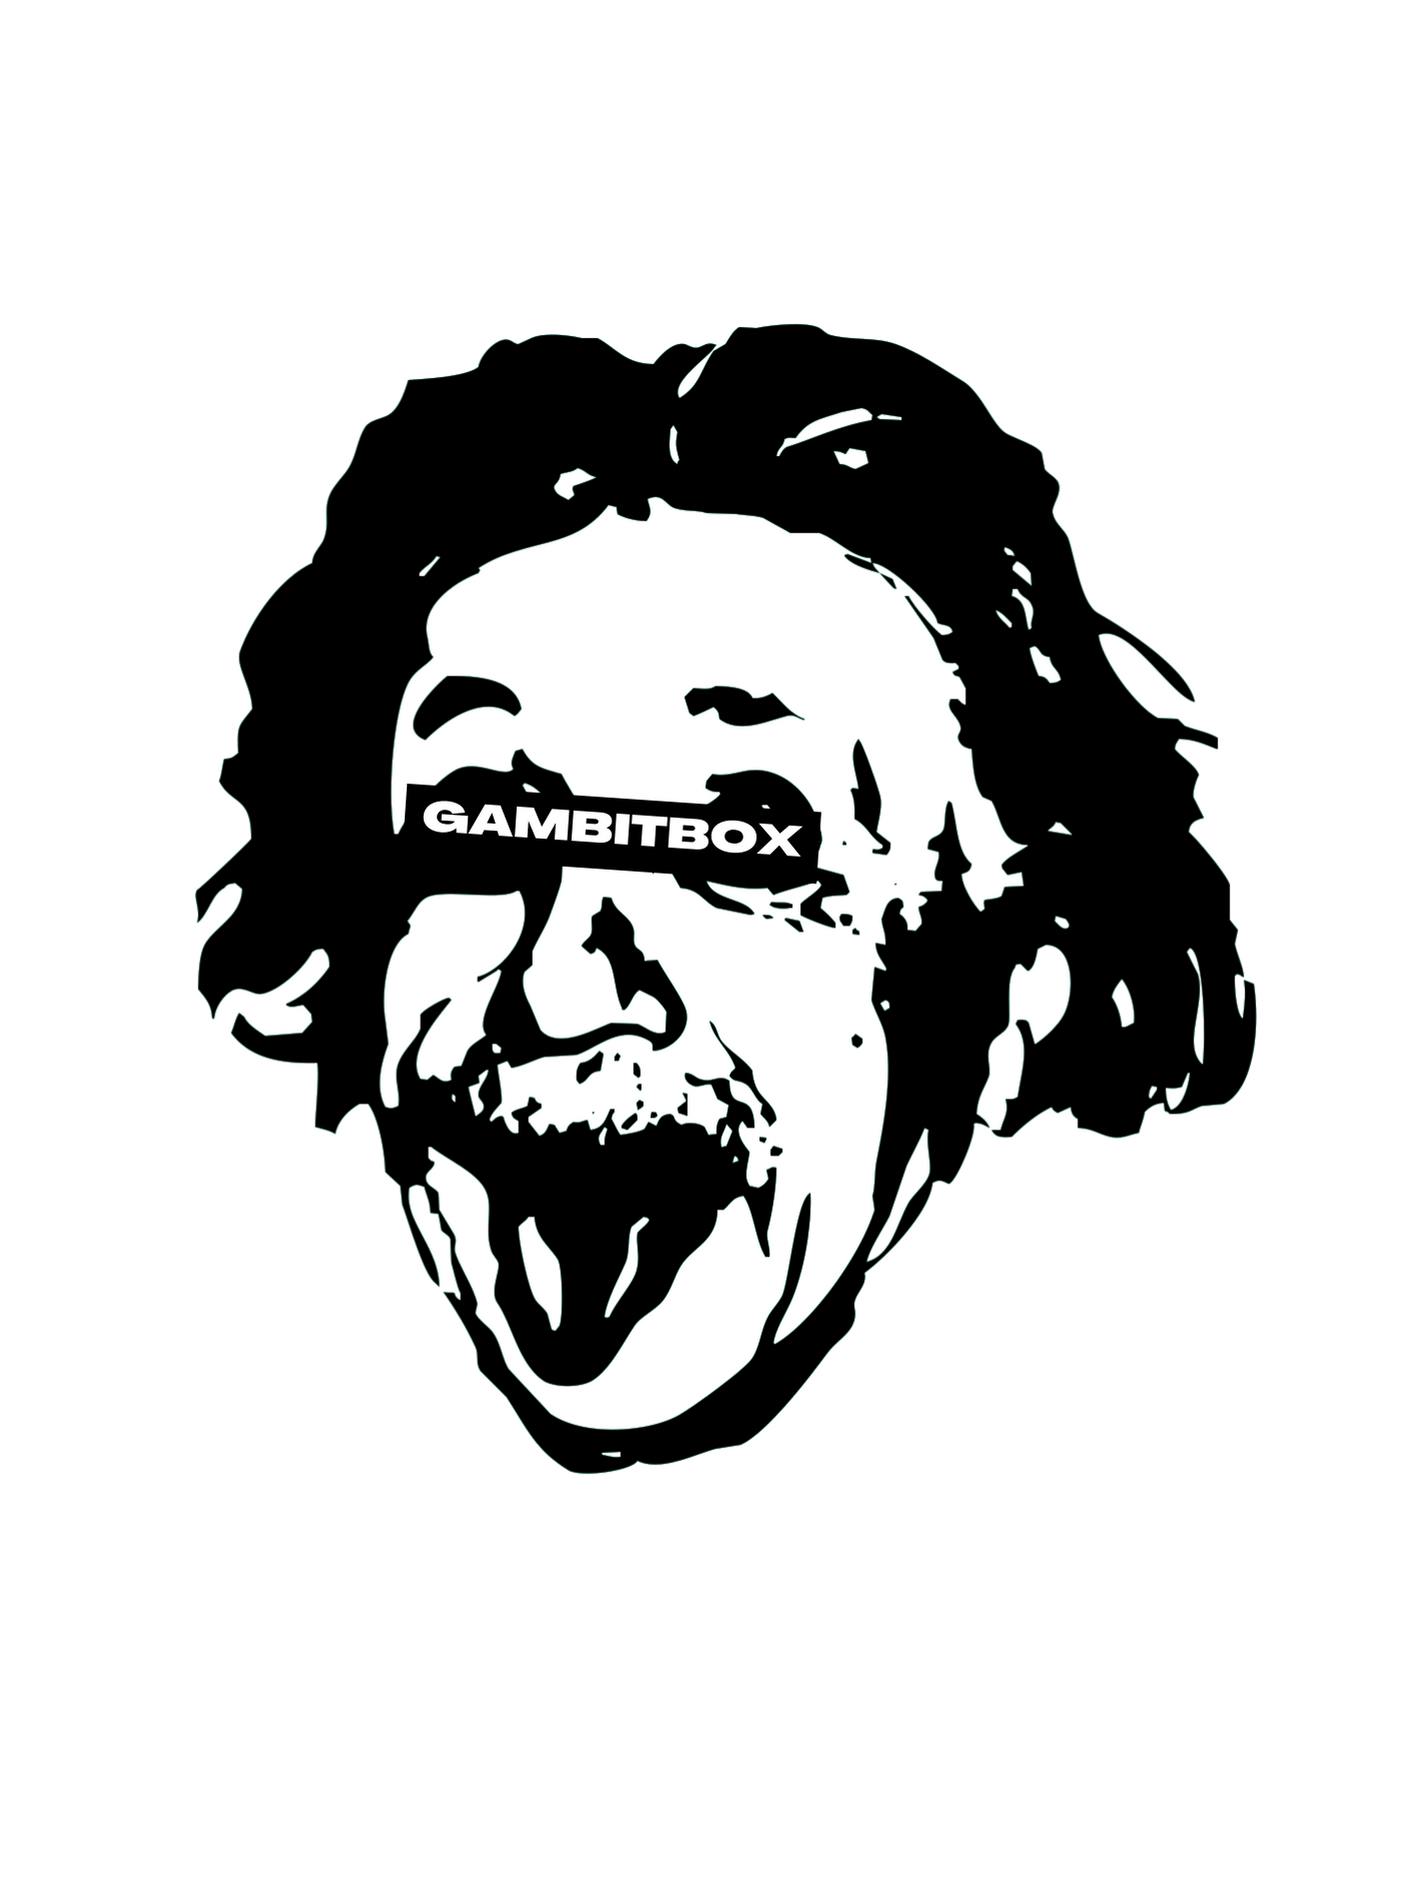
Metadata: 1.json
{
  "name": "AE #1",
  "symbol": "",
  "description": "Mass-energy equivalence formula E = mc2, has been dubbed the world's most famous equation. His discovery of the theory of relativity revolutionized our understanding of space, time, gravity, and the universe.",
  "image": "1.png",
  "attributes": [
    {
      "trait_type": "figure",
      "value": "ae"
    },
    {
      "trait_type": "background",
      "value": "white"
   },
   {
      "trait_type": "paint",
      "value": "black"
    },
    {
      "trait_type": "rectangle cover",
      "value": "black"
     },
     {
      "trait_type": "gambitbox text",
      "value": "white"
      }
  ],
  "properties": {
    "files": [
      {
        "uri": "1.png",
        "type": "image/png"
      }
    ]
  }
}
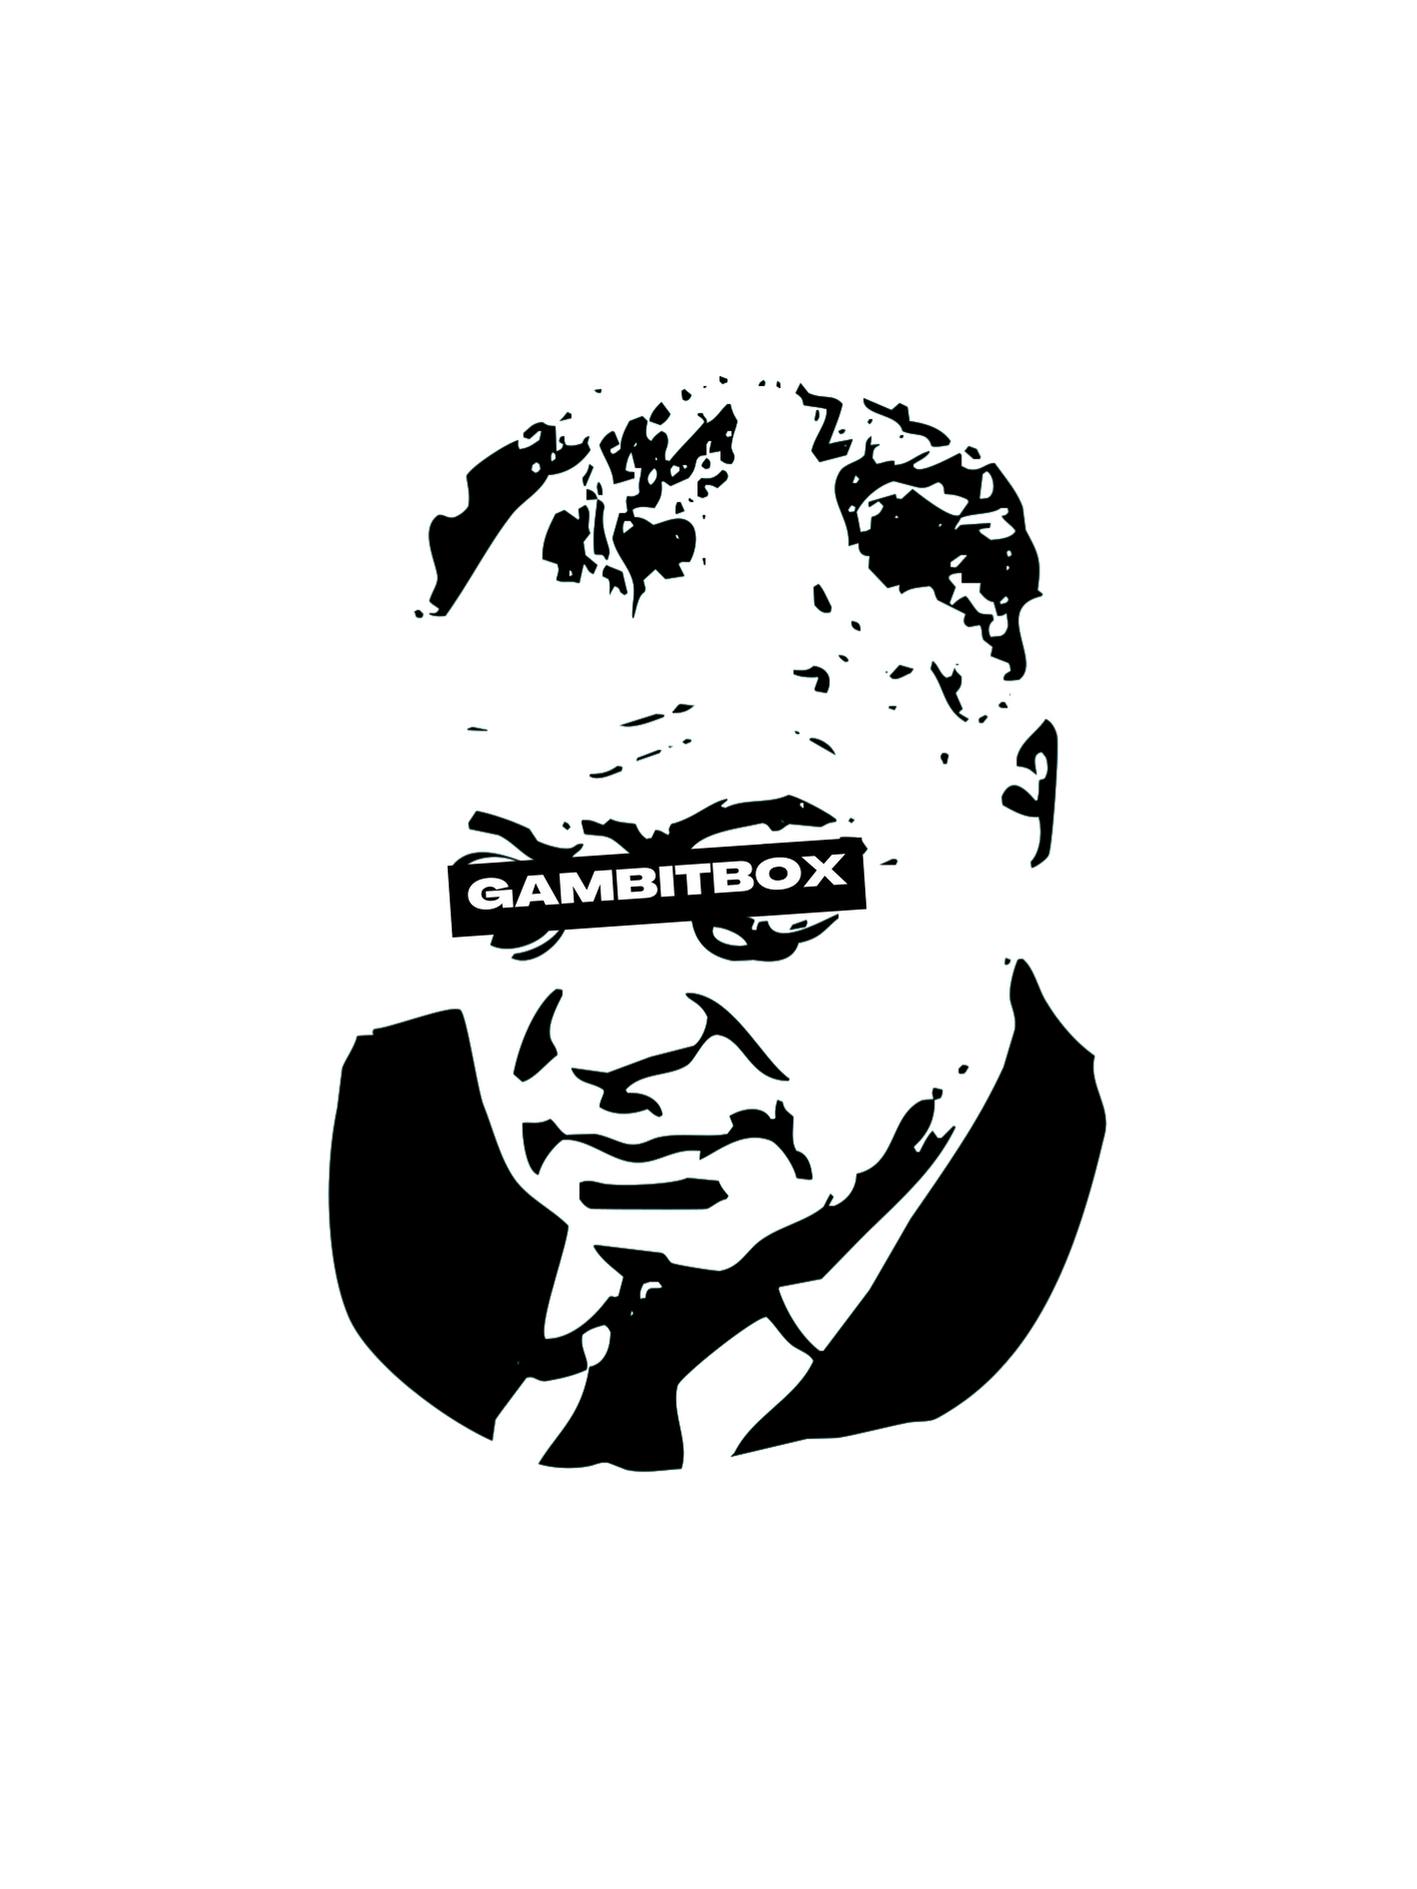
Image: 2.png
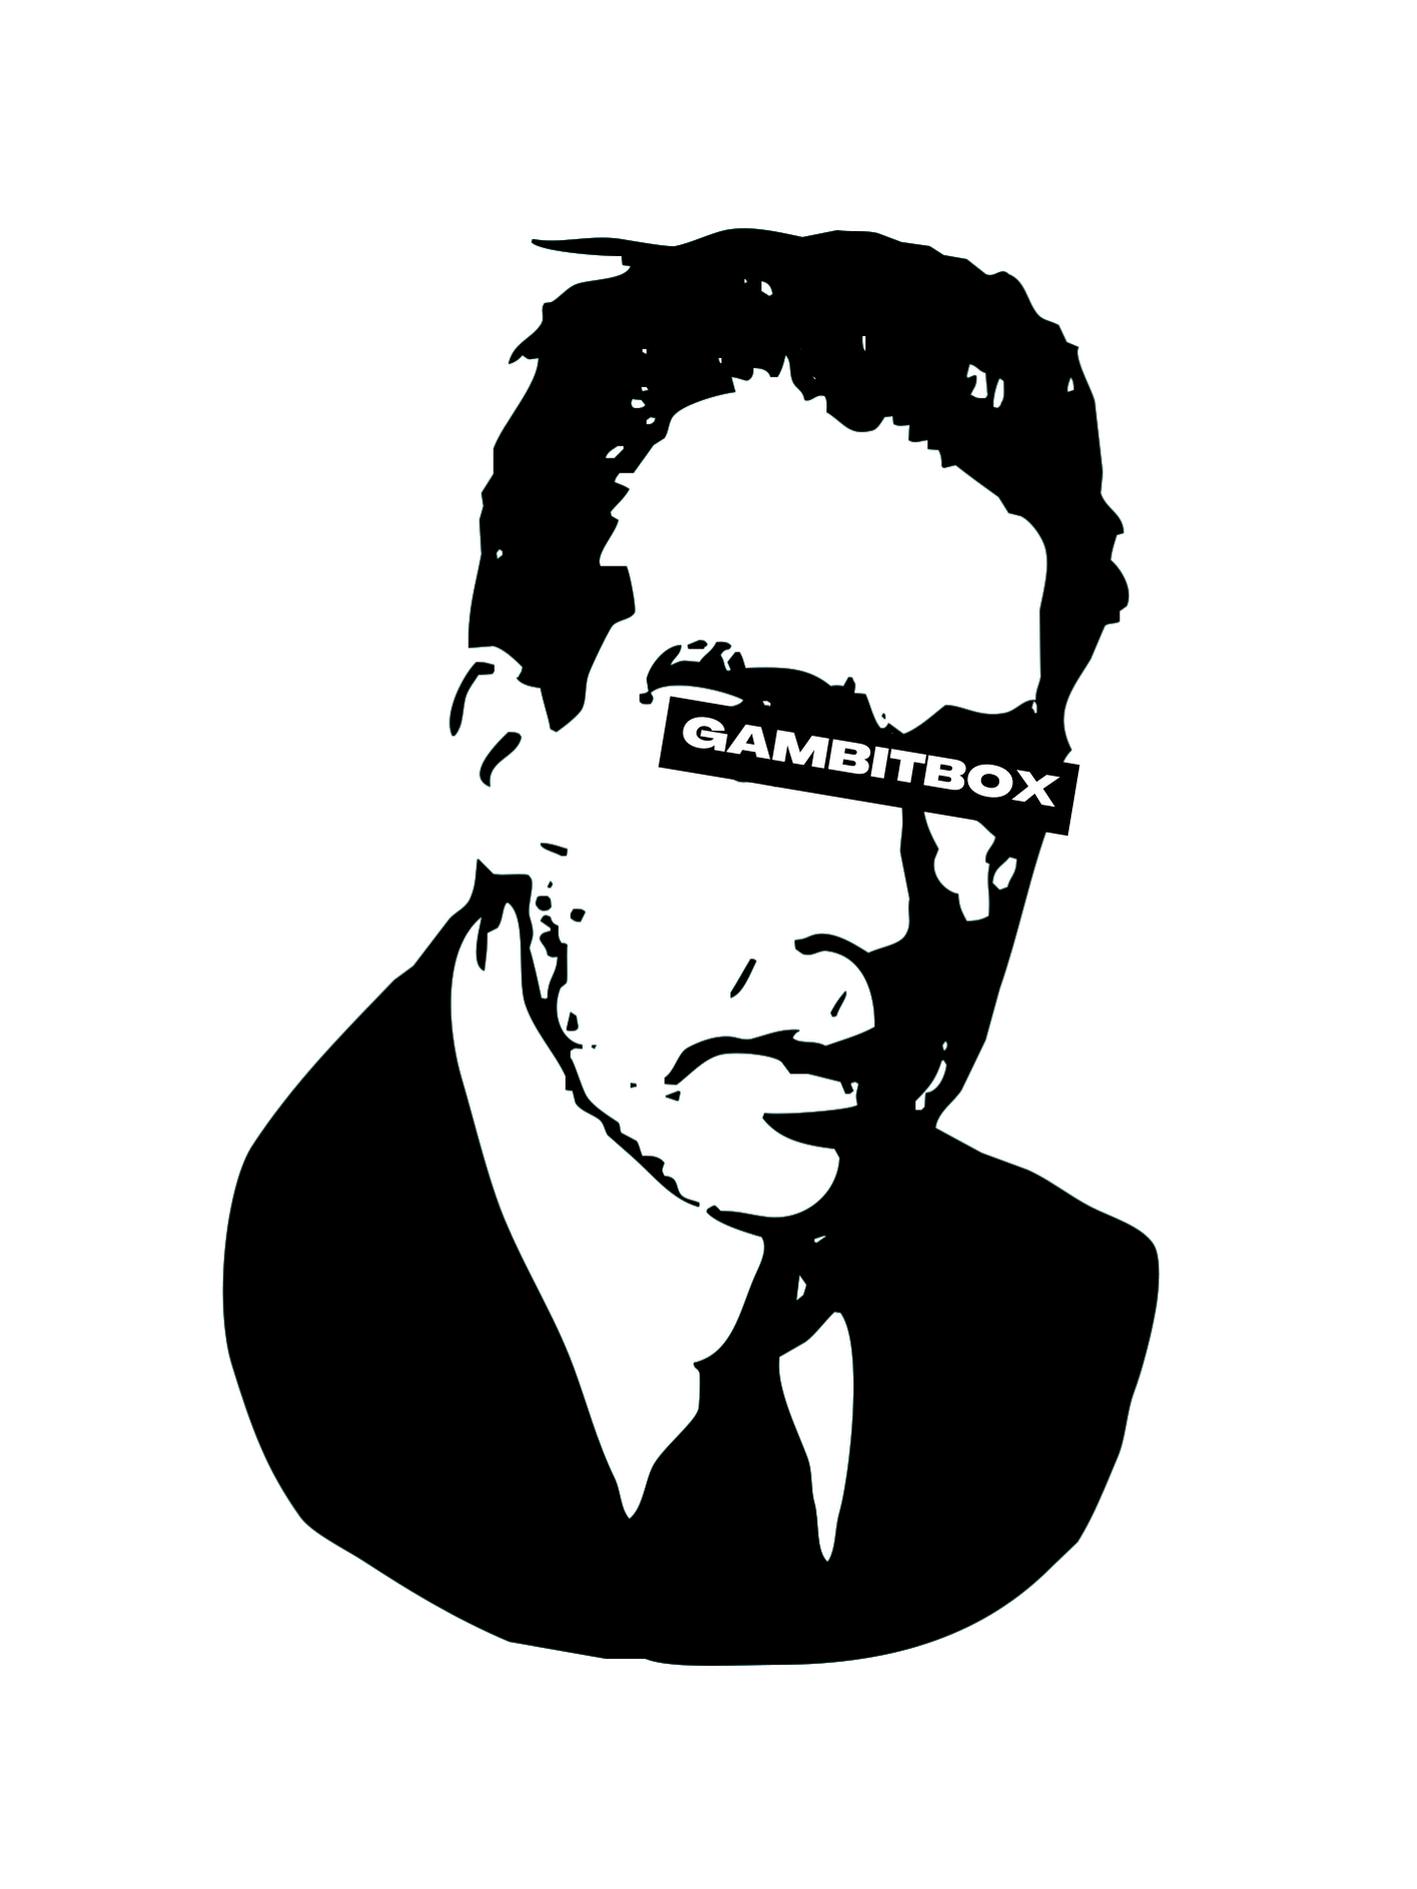
Metadata: 2.json
{
  "name": "NHDB #1",
  "symbol": "",
  "description": "One of the most respected theoretical physicists of the twentieth century made foundational contributions to understanding atomic structure and quantum theory, for which he received the Nobel Prize in Physics in 1922.",
  "image": "2.png",
  "attributes": [
    {
      "trait_type": "figure",
      "value": "nhdb"
    },
    {
      "trait_type": "background",
      "value": "white"
   },
   {
      "trait_type": "paint",
      "value": "black"
    },
    {
      "trait_type": "rectangle cover",
      "value": "black"
     },
     {
      "trait_type": "gambitbox text",
      "value": "white"
      }
  ],
  "properties": {
    "files": [
      {
        "uri": "2.png",
        "type": "image/png"
      }
    ]
  }
}
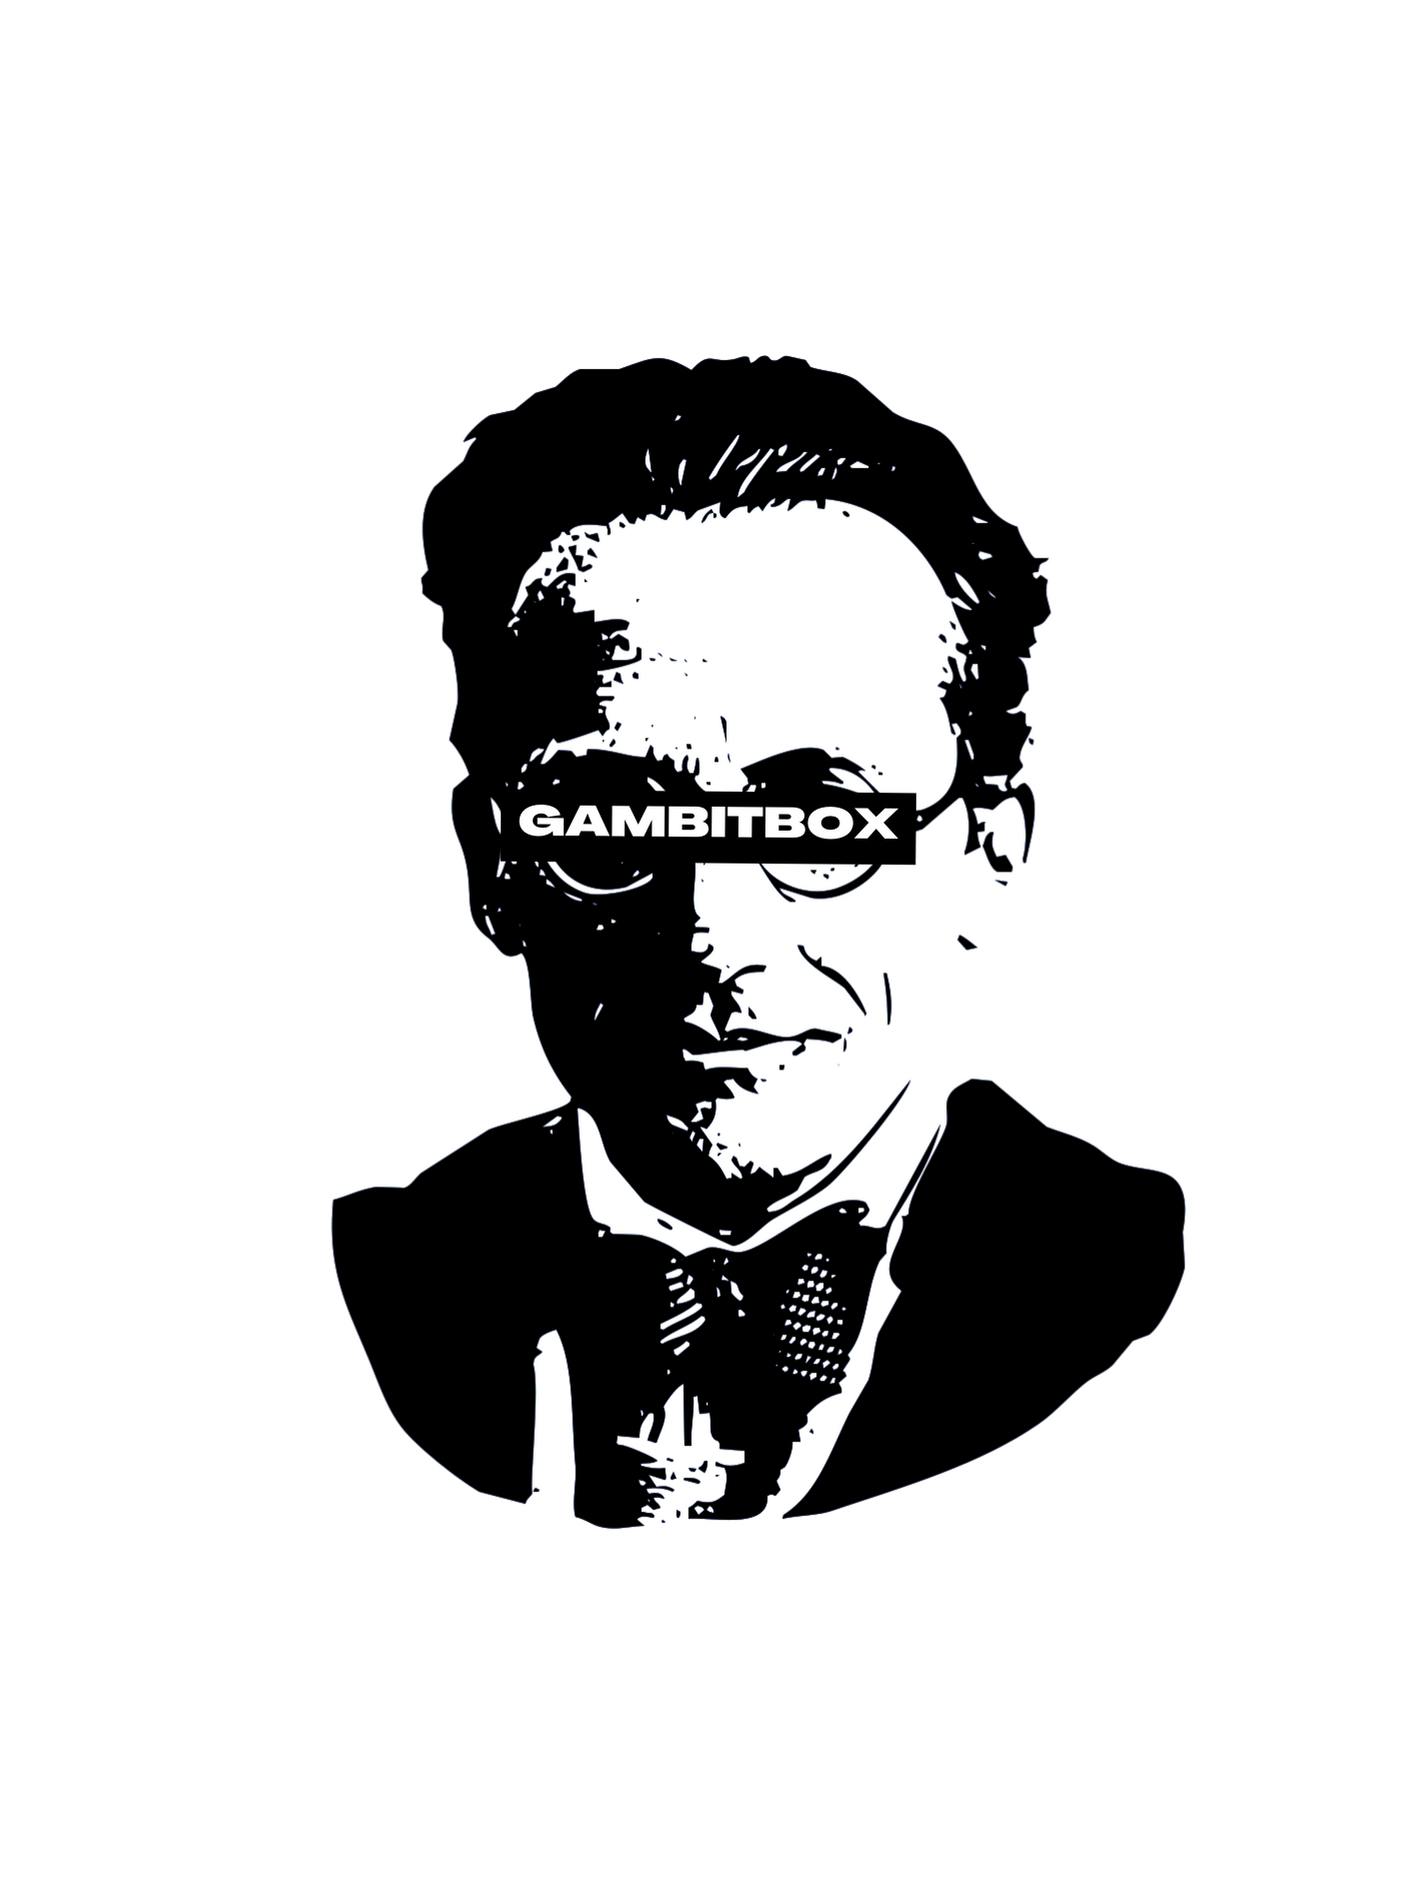
Image: 3.png
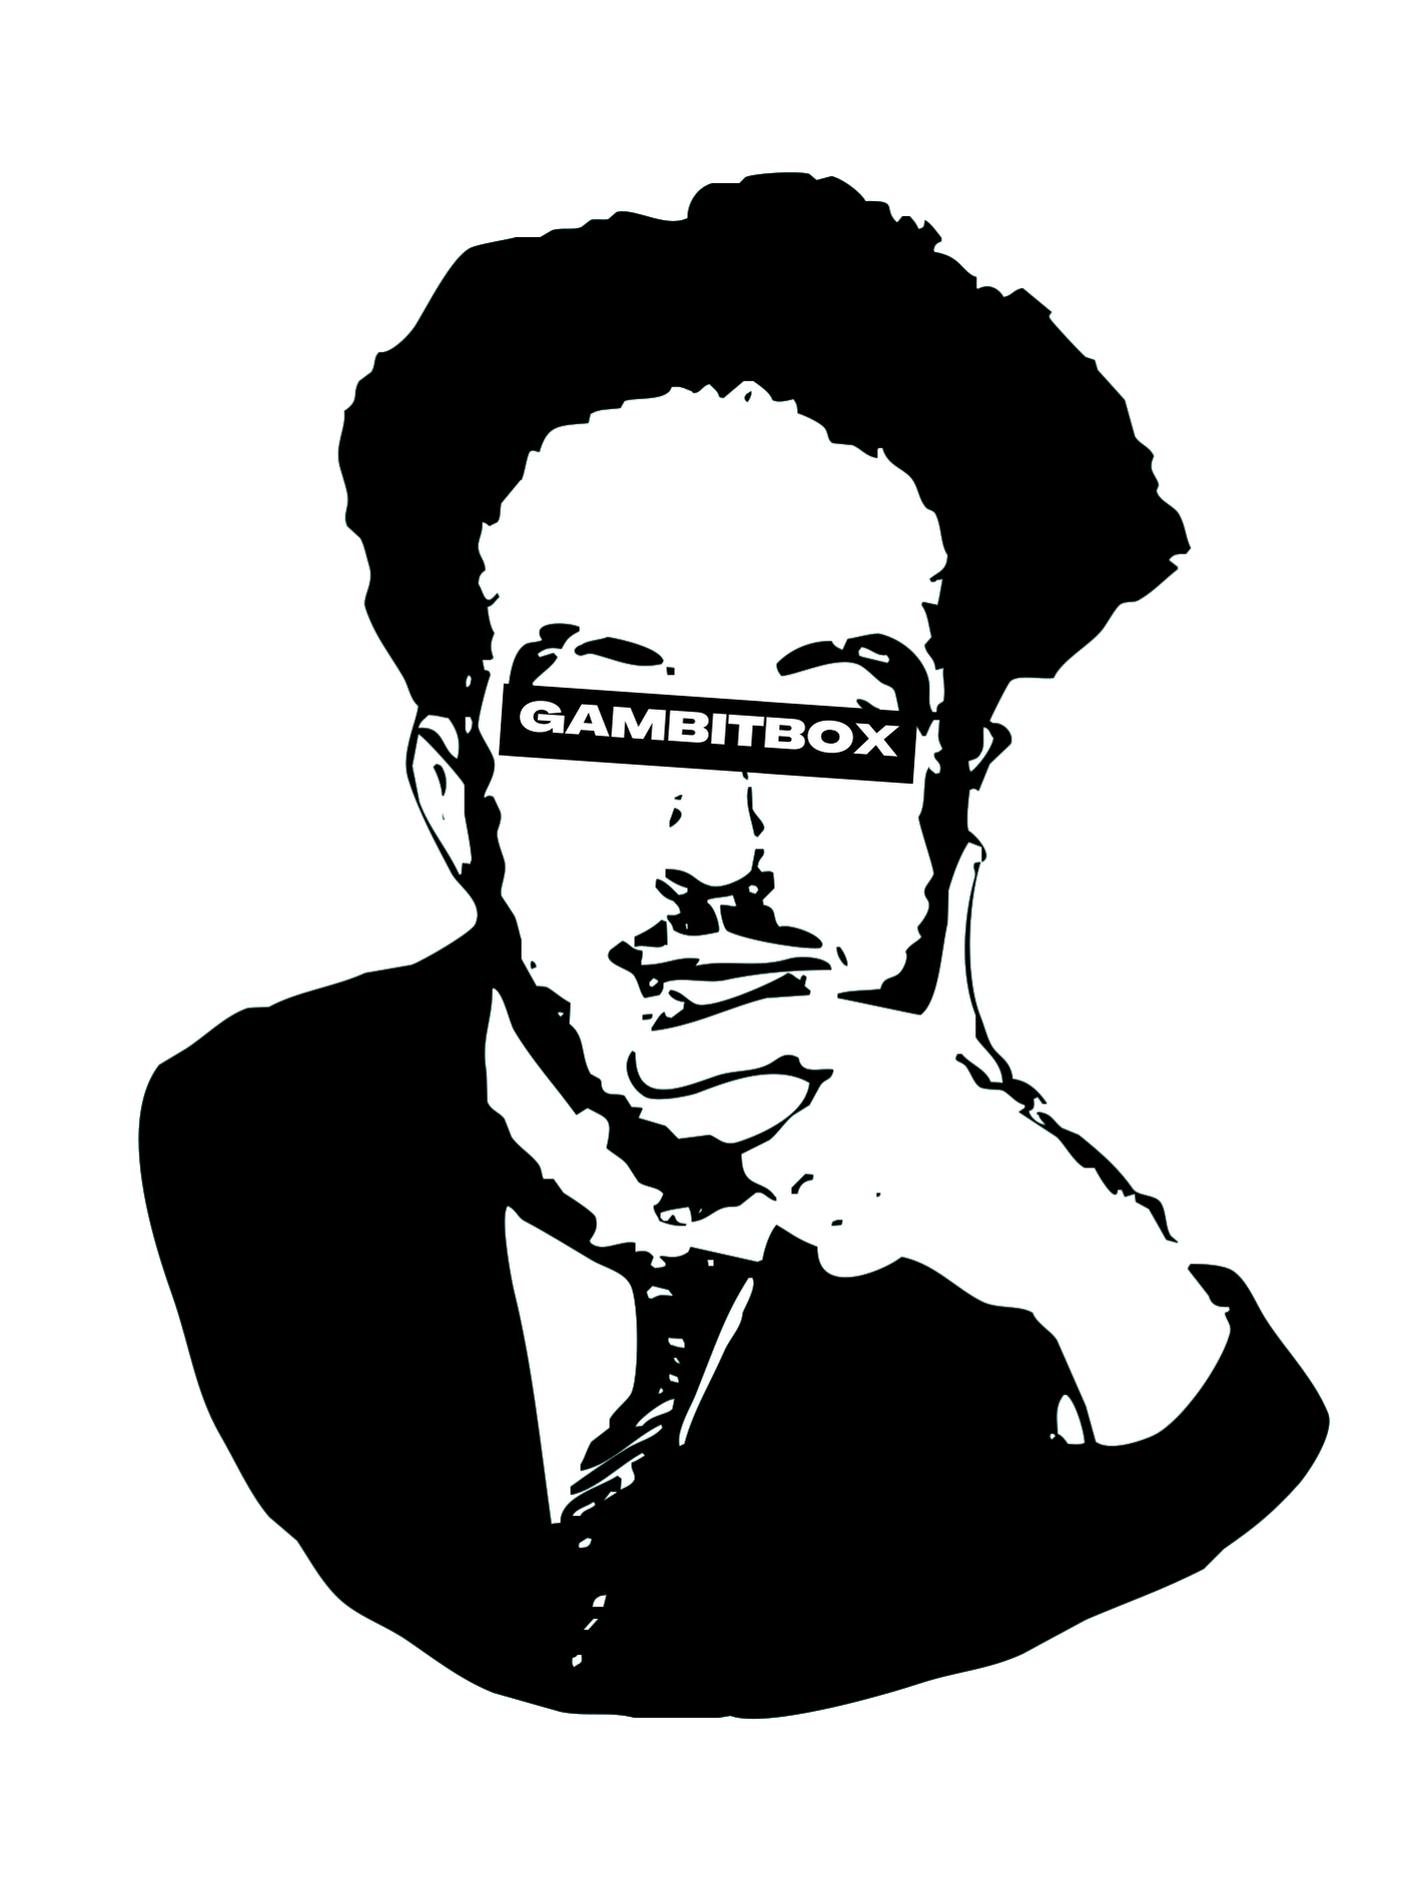
Metadata: 3.json
{
  "name": "LVPRDB #1",
  "symbol": "",
  "description": "Physicist and aristocrat who made groundbreaking contributions to quantum theory. He won the Nobel Prize for Physics in 1929, after the wave-like behaviour of matter was first experimentally demonstrated in 1927.",
  "image": "3.png",
  "attributes": [
    {
      "trait_type": "figure",
      "value": "lvprdb"
    },
    {
      "trait_type": "background",
      "value": "white"
   },
   {
      "trait_type": "paint",
      "value": "black"
    },
    {
      "trait_type": "rectangle cover",
      "value": "black"
     },
     {
      "trait_type": "gambitbox text",
      "value": "white"
      }
  ],
  "properties": {
    "files": [
      {
        "uri": "3.png",
        "type": "image/png"
      }
    ]
  }
}
Image: 4.png
Metadata: 4.json
{
  "name": "MB #1",
  "symbol": "",
  "description": "Physicist and mathematician who was instrumental in the development of quantum mechanics.  In 1954 he received the Nobel Prize in Physics for his fundamental research in quantum mechanics, especially in the statistical interpretation of the wave function.",
  "image": "4.png",
  "attributes": [
    {
      "trait_type": "figure",
      "value": "mb"
    },
    {
      "trait_type": "background",
      "value": "white"
   },
   {
      "trait_type": "paint",
      "value": "black"
    },
    {
      "trait_type": "rectangle cover",
      "value": "black"
     },
     {
      "trait_type": "gambitbox text",
      "value": "white"
      }
  ],
  "properties": {
    "files": [
      {
        "uri": "4.png",
        "type": "image/png"
      }
    ]
  }
}
Image: 5.png
Metadata: 5.json
{
    "name": "PAMD #1",
    "symbol": "",
    "description": "Regarded as one of the most significant physicists of the 20th century, who made fundamental contributions to the early development of both quantum mechanics and quantum electrodynamics. Among other discoveries, he formulated an equation which describes the behaviour of fermions and predicted the existence of antimatter. He shared the 1933 Nobel Prize in Physics for the discovery of new productive forms of atomic theory.",
    "image": "5.png",
    "attributes": [
      {
        "trait_type": "figure",
        "value": "pamd"
      },
      {
        "trait_type": "background",
        "value": "white"
     },
     {
        "trait_type": "paint",
        "value": "black"
      },
      {
        "trait_type": "rectangle cover",
        "value": "black"
       },
       {
        "trait_type": "gambitbox text",
        "value": "white"
        }
    ],
    "properties": {
      "files": [
        {
          "uri": "5.png",
          "type": "image/png"
        }
      ]
    }
  }
Image: 6.png

Metadata: 6.json
{
    "name": "WKH #1",
    "symbol": "",
    "description": "His name will always be associated with his theory of quantum mechanics, published in 1925 when he was only 23 years old, where he formulated a type of quantum mechanics based on matrices. For that discovery, he was awarded the 1932 Nobel Prize for Physics, the application of which has, inter alia, led to the discovery of the allotropic forms of hydrogen. Also, in 1927 he published his famous uncertainty principle.",
    "image": "6.png",
    "attributes": [
      {
        "trait_type": "figure",
        "value": "wkh"
      },
      {
        "trait_type": "background",
        "value": "white"
     },
     {
        "trait_type": "paint",
        "value": "black"
      },
      {
        "trait_type": "rectangle cover",
        "value": "black"
       },
       {
        "trait_type": "gambitbox text",
        "value": "white"
        }
    ],
    "properties": {
      "files": [
        {
          "uri": "6.png",
          "type": "image/png"
        }
      ]
    }
  }
Image: 7.png
Metadata: 7.json
{
    "name": "WEP #1",
    "symbol": "",
    "description": "In 1945 he received the Nobel Prize in Physics for his decisive contribution through his discovery of a new law of Nature, the exclusion principle. The discovery involved spin theory, which is the basis of a theory of the structure of matter.",
    "image": "7.png",
    "attributes": [
      {
        "trait_type": "figure",
        "value": "wep"
      },
      {
        "trait_type": "background",
        "value": "white"
     },
     {
        "trait_type": "paint",
        "value": "black"
      },
      {
        "trait_type": "rectangle cover",
        "value": "black"
       },
       {
        "trait_type": "gambitbox text",
        "value": "white"
        }
    ],
    "properties": {
      "files": [
        {
          "uri": "7.png",
          "type": "image/png"
        }
      ]
    }
  }
Image: 8.png
Metadata: 8.json
{
    "name": "ERJAS #1",
    "symbol": "",
    "description": "Widely known for his thought experiment that illustrates a paradox of quantum superposition. In the thought experiment, a hypothetical cat may be considered simultaneously both alive and dead as a result of its fate being linked to a random subatomic event that may or may not occur. Assuming that matter (e.g., electrons) could be regarded as both particles and waves, in 1926 he formulated a wave equation that accurately calculated the energy levels of electrons in atoms.",
    "image": "8.png",
    "attributes": [
      {
        "trait_type": "figure",
        "value": "erjas"
      },
      {
        "trait_type": "background",
        "value": "white"
     },
     {
        "trait_type": "paint",
        "value": "black"
      },
      {
        "trait_type": "rectangle cover",
        "value": "black"
       },
       {
        "trait_type": "gambitbox text",
        "value": "white"
        }
    ],
    "properties": {
      "files": [
        {
          "uri": "8.png",
          "type": "image/png"
        }
      ]
    }
  }
Image: 9.png
Metadata: 9.json
{
    "name": "RPF #1",
    "symbol": "",
    "description": "He remade quantum electrodynamics-the theory of the interaction between light and matter-and thus altered the way science understands the nature of waves and particles. Moreover, the problem-solving tools that he invented include-pictorial representations of particle interactions that permeated many areas of theoretical physics in the second half of the 20th century.",
    "image": "9.png",
    "attributes": [
      {
        "trait_type": "figure",
        "value": "rpf"
      },
      {
        "trait_type": "background",
        "value": "white"
     },
     {
        "trait_type": "paint",
        "value": "black"
      },
      {
        "trait_type": "rectangle cover",
        "value": "black"
       },
       {
        "trait_type": "gambitbox text",
        "value": "white"
        }
    ],
    "properties": {
      "files": [
        {
          "uri": "9.png",
          "type": "image/png"
        }
      ]
    }
  }
Image: collection.png

Metadata: collection.json
{
    "name": "The Quantum Mind",
    "symbol": "",
    "description": "The 1st NFT collection by Gambitbox features 10 influential quantum physicists.",
    "image": "collection.png",
    "attributes": [],
    "properties": {
      "files": [
        {
          "uri": "collection.png",
          "type": "image/png"
        }
      ]
    }
  }
Were you able to recognize characters that were depicted in the image? Hint is in their metadata description. Put a name to the face. Leave your answers in the comments ;)
CANDY MACHINE CONFIGURATION
After setting up a wallet and assets metadata, the final step would be configuring your candy machine.
Sugar contains a collection of commands for creating and managing Metaplex Candy Machines. The complete list of commands can be viewed by running: (Metaplex Docs)
sugar
output:
USAGE:
    sugar [OPTIONS] <SUBCOMMAND>

OPTIONS:
    -h, --help                     Print help information
    -l, --log-level <LOG_LEVEL>    Log level: trace, debug, info, warn, error, off
    -V, --version                  Print version information

SUBCOMMANDS:
    create-config    Interactive process to create the config file
    deploy           Deploy cache items into candy machine config on-chain
    help             Print this message or the help of the given subcommand(s)
    launch           Create a candy machine deployment from assets
    mint             Mint one NFT from candy machine
    show             Show the on-chain config of an existing candy machine
    update           Update the candy machine config on-chain
    upload           Upload assets to storage and creates the cache config
    validate         Validate JSON metadata files
    verify           Verify uploaded data
    withdraw         Withdraw funds from candy machine account closing it
A quick way to start would be to execute the following command
sugar launch
Output:
? What is the price of each NFT? >
Assuming you want to mint everything yourself, it is important to set a price high enough, so that bots would not snipe your NFTs. When Candy Machine (CM) is generated it could also be seen on the solscan, and can be interacted with by anyone, therefore, setting a price high enough or setting a whitelist will avoid a bot minting NFTs from your CM. Essentially, these bots scrape newly created CMs and snipe them if a set parameters are set.
Setting up a whitelist means that only wallets with specific tokens will be able to mint on your CM. If you want to learn more about a token creation and whitelist set up, subscribe to the newsletter for upcoming articles.
? Found 10 file pairs in "assets". Is this how many NFTs you will have in your candy machine? (y/n) ›
If it's 10 asset files pairs in your assets directory then this is correct, so type y.
? Found no symbol in your metadata file. Is this value correct? (y/n) ›
In this case I did not specify symbol in the asset's metadata, however, I recommend that you do so in your metadata.
? What is the seller fee basis points? ›
This refers to the loyalty fee every time the NFT gets resold. I will type 500, which is 5%. Basis points are percentage times 100, so 100 = 1%, 150 = 1.5%, 1000 = 10% etc.)
? What is your go live date? Enter it this format, YYYY-MM-DD HH:MM:SS [+/-]UTC-OFFSET or type 'now' for current time. For example 2022-05-02 18:00:00 +0000 for May 2, 2022 18:00:00 UTC. ›
The candy machine "go live date" is when the candy machine becomes active and minting from it is allowed. We can either input a date here in the format specified or we can input "now" for the current time. Input "now" and hit enter to go to the next step.
? How many creator wallets do you have? (max limit of 4) ›
Creator wallet specifies who will get the loyalty fees. If you need to split royalty fees with other creators then the max limit is 4 wallets. For this instance I will type 1.
? Enter creator wallet address #1 ›
Copy and paste the public key where loyalty fees will go to. Instead of using the file system wallet we have created for candy machine purposes, you can also use public key from the paper wallet you have created or the hardware wallet.
? Enter royalty percentage share for creator #1 (e.g., 70). Total shares must add to 100. >
In this case I only specified one creator's wallet, so the royalty percentage share would go only to one wallet. Therefore, I will type 100. If you have 2 creators, and want to split royalty fees then type "50" for creator #1 and type "50" again for creator #2.
? Which extra features do you want to use? (use [SPACEBAR] to select options you want and hit [ENTER] when done) ›
✔ SPL Token Mint
✔ Gatekeeper
✔ Whitelist Mint
✔ End Settings
✔ Hidden Settings
Here is a brief explanation ...
Gatekeeper - adding captcha function to your candy machine. Captcha prevents bots from minting by creating a challenge, which ensures that only humans would be able to mint.
Whitelist Mint - wallets that hold specified tokens (custom SPL token) have special access to the candy machine. This right will depend on your specifications, such as discounted presale access or overall mint from candy machine access.
End Setting - stop mint at a specific timestamp, and stop a mint after a certain number of items have been minted. This can be used in combination with other settings to create specific use cases such as running a whitelist presale either for a limited time or for a limited number of items.
Hidden Setting - Hidden settings serve two purposes. First, it allows the creation of larger drops (20k+), since the metadata is not stored on-chain. In turn, this also allows the creation of hide-and-reveal drops, where users discover which item(s) they minted after the mint is complete.
This step allows us to configure advanced settings for our candy machine, but we are not using any of them in this tutorial, since we simply want to mint the NFTs. Therefore, simply press [Enter] to continue on.
? What is your SOL treasury address? ›
Here you need to enter the public key of the file system wallet we have created and configured for the candy machine.
? What upload method do you want to use? ›
❯ Bundlr
AWS
NFT Storage
SHDW
This lets us choose which method we are using to store our off-chain NFT metadata (the images and data in the .json files for our assets). The simplest one to start with is Bundlr as it does not require any extra configuration other than having a funded Solana address. Bundlr will upload our metadata and images to Arweave, a blockchain designed for permanent and decentralized data storage.
Press [Enter], output:
[2/2] Saving config file

Saving config to file: "config.json"

Successfully generated the config file.

>>> sugar validate

[1/1] Loading assets
▪▪▪▪▪ Validating 11 metadata file(s)...

Validation complete, your metadata file(s) look good.

>>> sugar upload

[1/4] Loading assets
Found 11 asset pair(s), uploading files:
+--------------------+
| images    |     11 |
| metadata  |     11 |
+--------------------+

[2/4] Initializing upload
▪▪▪▪▪ Connected
Funding address:
  -> pubkey: 3k6fXsPVdoiV2Axt9X4ZEJwiJeo9qLoTD9eTnW2CY8M4
  -> lamports: 332295 (◎ 0.000332295)
Signature: 5DWTRSLpJtVArbvaDxZeSvA7SsLjJhdrsEiw4g2zKooRu1xns2Q5rhwBsHsdB8hzjThAVkFgSMiwpaaEJqzZZty6

[3/4] Uploading image files

Sending data: (Ctrl+C to abort)
[00:00:01] Upload successful █████████████████████████████████████████████████████████████████████████████████████████ 11/11
[4/4] Uploading metadata files

Sending data: (Ctrl+C to abort)
[00:00:00] Upload successful █████████████████████████████████████████████████████████████████████████████████████████ 11/11
11/11 asset pair(s) uploaded.

>>> sugar deploy

[1/3] Creating candy machine
Candy machine ID: CrZkLT2nZDB1nibxnxe8EUWWUoRF9Q3Q7hZK47uMe6cs

[2/3] Writing config lines
Sending config line(s) in 1 transaction(s): (Ctrl+C to abort)
[00:00:01] Write config lines successful ███████████████████████████████████████████████████████████████████████████████ 1/1
[3/3] Creating and setting the collection NFT for candy machine
Collection mint ID: 279aTr5vNcEgMu6TPNBaHjgh58pbTHPeYLopQ3poiT1F

>>> sugar verify

[1/2] Loading candy machine
▪▪▪▪▪ Completed

[2/2] Verification
Verifying 10 config line(s): (Ctrl+C to abort)
[00:00:01] Config line verification successful ███████████████████████████████████████████████████████████████████████ 10/10
Verification successful. You're good to go!

See your candy machine at:
  -> https://www.solaneyes.com/address/CrZkLT2nZDB1nibxnxe8EUWWUoRF9Q3Q7hZK47uMe6cs?cluster=devnet

Command successful.
MINTING
Minting from Sugar CLI
The mint command mints NFTs from a Candy Machine from the command-line. So if you execute the following command you will mint one NFT.
sugar mint
Output:
[1/2] Loading candy machine
Candy machine ID: CrZkLT2nZDB1nibxnxe8EUWWUoRF9Q3Q7hZK47uMe6cs
▪▪▪▪▪ Done

[2/2] Minting from candy machine
▪▪▪▪▪ Signature: 64MyJWKt3R8P8uzepXMKhMbfBi8nCTcQ1tZMYcPJ1R7LhjQbs77FNxiXKi8gzyn6hBEukrEZ1Qjjg5jrYMXvWYMB

Command successful.
However, if you want to mint multiple NFTs at once then execute the following sugar mint -n <number of nfts you want to mint>
sugar mint -n 3
The above command will mint three NFTs from the Candy Machine.
CANDY MACHINE WITHDRAWAL
Finally, once you have minted all your NFTs you can withdraw your candy machine rent funds.
When you use
bundlras your upload method, Sugar automatically funds your account on the Bundlr Network to cover the storage costs. Once the upload is completed, there could be leftover funds in your Bundlr account. You can verify your balance on the Bundlr Network with the following command:
sugar bundlr balance
To withdraw the SOL that is left execute the following command:
sugar bundlr withdraw
At the end of the withdrawal, the funds available on the Bundlr Network will be transferred to your Solana address.
You should not withdraw the rent of a live Candy Machine, as the Candy Machine will stop working when you drain its account.
CONCLUSION
COST REVISED
・ Rent (Candy Machine) - fee calculator here
・ Storage (Arweave) - fee calculator AR & USD / fee calculator here SOL
・ Booster (Custom RPC) - recommended custom rpc here QuickNode - 49 USD
・ Mint (Transactions) - one NFT mint fee is around 0.00848~0.0125 SOL
Approximate cost
The price does not subtract the rent retracted from the candy machine after everything has been minted. Also prices are subject to change, especially due to the market prices for SOL and AR. The following approximation assumes that each png is 250 kb, SOL = 30 USD and mint fee is 0.01 SOL)
MINTING YOURSELF
$ 4 = 10 NFT Collection = 0.13 SOL (mint/rent/storage)
$ 85 = 100 NFT Collection = 1.18 SOL (mint/rent/storage) + 49 USD (booster)
$ 403 = 1,000 NFT Collection = 11.8 SOL (mint/rent/storage) + 49 USD (booster)
$ 3,562 = 10,000 NFT Collection = 117.1 SOL (mint/rent/storage) + 49 USD (booster)
If you decide to create a front-end display for your candy machine where people can go and mint NFT themselves then here is calculation on how much you would need to prepare.
JUST CANDY MACHINE
$ 1 = 10 NFT Collection = 0.03 SOL (rent/storage)
$ 55 = 100 NFT Collection = 0.2 SOL (rent/storage) + 49 USD (booster)
$ 101 = 1,000 NFT Collection = 1.71 SOL (rent/storage) + 49 USD (booster)
$ 562 = 10,000 NFT Collection = 17.1 SOL (rent/storage) + 49 USD (booster)
If you are creating a large NFT collection, perhaps it is better to create a front-end display for a candy machine and launch an NFT drop to the public. (I will create another tutorial on different ways to launch your NFT drop.)
SECURITY REMINDER
・ Generate your file system wallet on an encrypted drive.
・ Avoid bots snipping NFTs from your candy machine by setting up a price or a whitelist.
・ For improved wallet encryption, add BIP39 passphrase and make 24 seed phrase.
LAST WORDS
If you are a nerd like me and want to know every single thing about Solana and NFT minting, I recommend to cover Solana Documentation and Metaplex Documentation. Special thanks to Solana and Metaplex teams for their detailed documentation - ShvetsTech